Dracknare - Age of Sigmar Path to Glory Campaign Battle Report - Turn 13 - Daughters of Khaine
On the one hand, Erzass should be happy, her two best generals had been winning victory after victory, on the other, there was now significant factions growing within her own force, the Scathborn, well they were fine, completely under her control, her magics saw to that, but the growing ranks of Witches and Sisters, well, they were different.
They saw the D’ra G’nar, and saw a paragon of slaughter, a fighter in their ranks with no equal. When they looked at Vacaris, they saw unequalled devotion to Khaine, a devotion so great it could drive them even further into celebration, and slaughter in his name.
She needed territory, a stronghold, to keep them busy, less focused on mutiny and more focused on establishing her power in this region… and the sooner the better!
Continuing my battle reports from this campaign here’s the last turn I played with my Daughters of Khaine. You can see a lot of them painted in more detail in my previous articles if you want to take a look. This week, the Devotees are trying to establish their territory and control of the area by improving their stronghold. Will they succeed against the madcap Gitz army, led by Trugg himself? Let’s find out!
Army Lists
Daughters of Khaine - The Devotees
- Army Subfaction: Hagg Nar
- Grand Strategy: Bloodthirsty Zealots
- Triumphs: Indomitable
LEADERS
- 1 x Bloodwrack Shrine (180)*
- Spells: Mindrazor
- 1 x High Gladiatrix (90)*
- General
- Command Traits: Zealous Orator
- Artefacts: Arcane Tome
- Injury: Major Injury
- 1 x Slaughter Queen (110)*
- Prayers: Sacrament of Blood
BATTLELINE
- 20 x Witch Aelves (110)*
- Hag
- 4 x Death Pennant Bearer
- 4 x Hornblower
- Paired Sciansá
- 10 x Witch Aelves (110)*
- Hag
- 2 x Death Pennant Bearer
- 2 x Hornblower
- Paired Sciansá
- Casualties: 1
- 10 x Witch Aelves (110)*
- Hag
- 2 x Death Pennant Bearer
- 2 x Hornblower
- Paired Sciansá
BEHEMOTH
- 1 x Avatar of Khaine (130)*
OTHER
- 5 x Khinerai Heartrenders (100)
- Shryke
- 5 x Khinerai Heartrenders (100)*
- Shryke
- 5 x Blood Sisters (150)*
- Gorgai
CORE BATTALIONS:
- *Battle Regiment
POINTS
- TOTAL POINTS: (1300/2000)
- DROPS: 2
Glomspite Gitz
- Subfaction: King’s Gitz
- Grand Strategy: Protect da Shrine!
- Triumph: Indomitable
LEADERS
- Trugg (320)*
- Loonboss on Giant Cave Squig (130)*
- General
- Command Traits: Squig Whisperer
- Moon-cutta
- Artefacts of Power: The Clammy Cowl
- Zarbag (180)*
- Spells: Itchy Nuisance
BATTLELINE
- Squig Herd (140)*
- Squig Herd (140)*
OTHER
- Rockgut Troggoths (170)*
- Rockgut Troggoths (170)*
- Zarbag’s Gitz (180)*
ENDLESS SPELLS & INVOCATIONS
- 1 x Scrapskuttle’s Arachnacauldron (40)
CORE BATTALIONS
- *Battle Regiment
POINTS
- TOTAL POINTS: 1290/1500
- DROPS: 1
Battle plan and other notes
We played Nexus Collapse from the 2023-24 GHB. The Devotees are a path to glory army and can use their path to glory veteran upgrades. We used the Honest Wargamer Terrain Pack.
Deployment
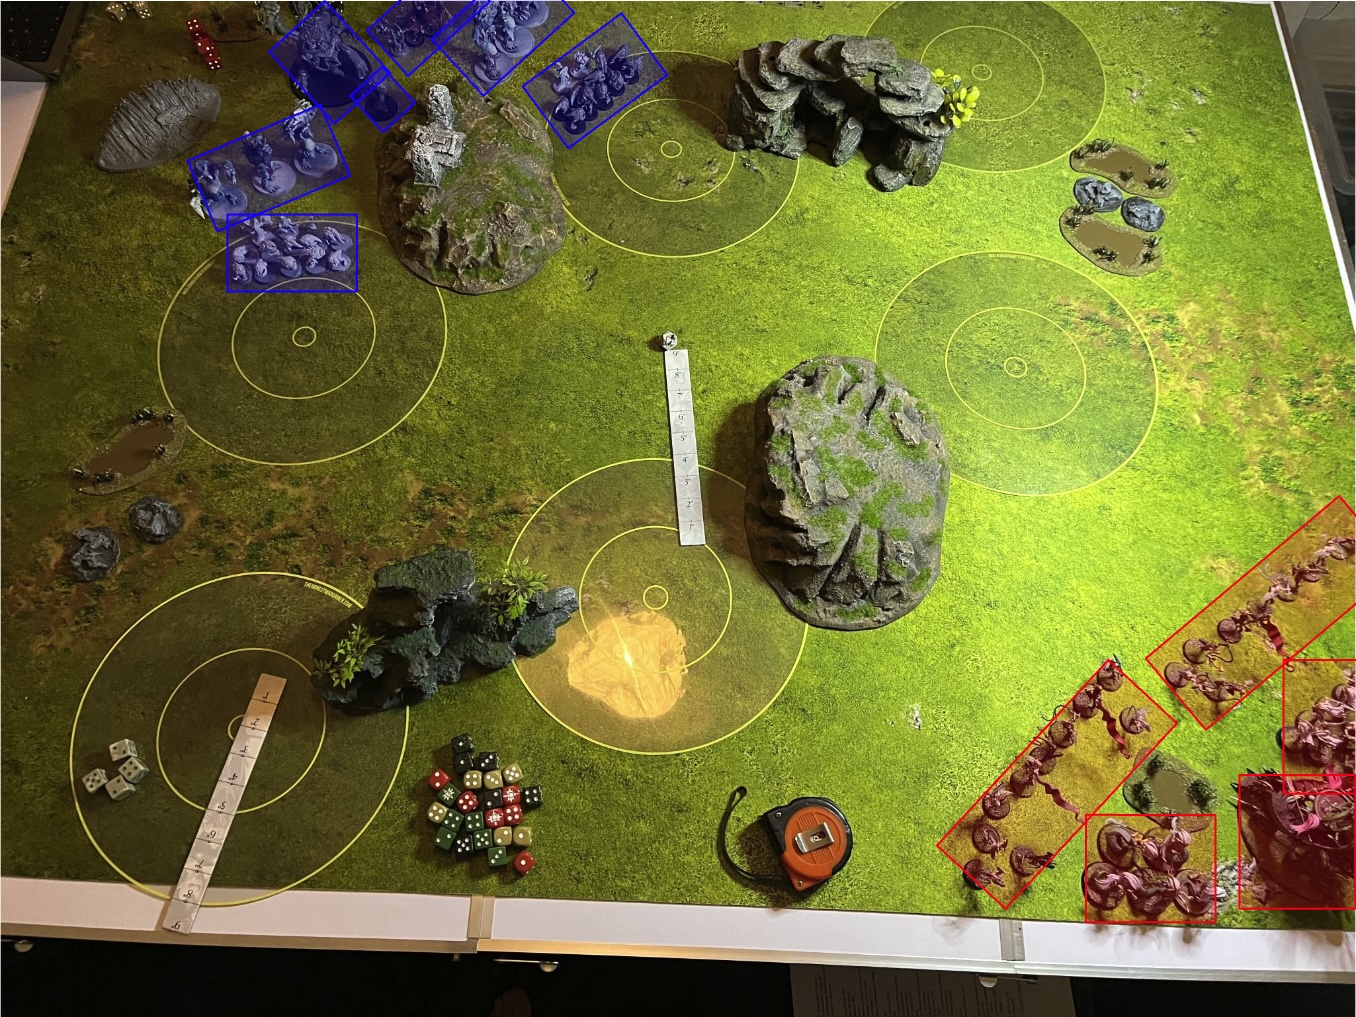 The Gitz, finishing deployment first, took a more aggressive stance, choosing to be as far forward as they could with their squig front line. The Daughters took a more passive stance, choosing to castle up in the back corner as far away as possible and off the objectives.
Turn 1
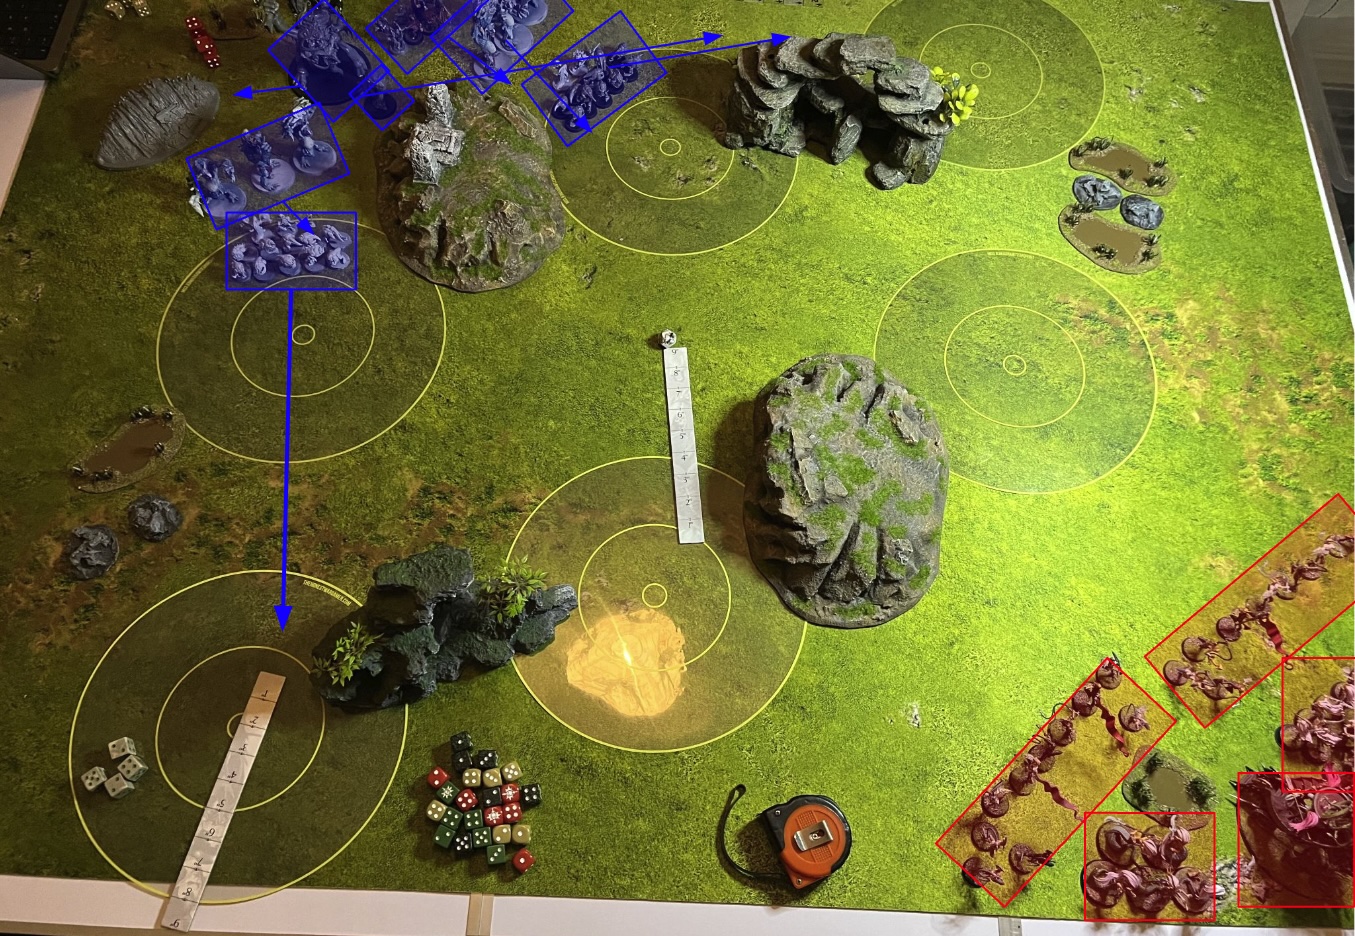 Having seized the initiative the Gitz chose to go first. One unit of squigs being very aggressive and getting Hand of Gork-ed across the board and onto the back objective. Most of the rest of the army moved forward except for Trugg who hung back to try and prevent the Khinerai from back boarding on their turn. For the battle tactic they chose ‘Magical Dominance’, an easy win given all the DoK casters were out of unbind range.
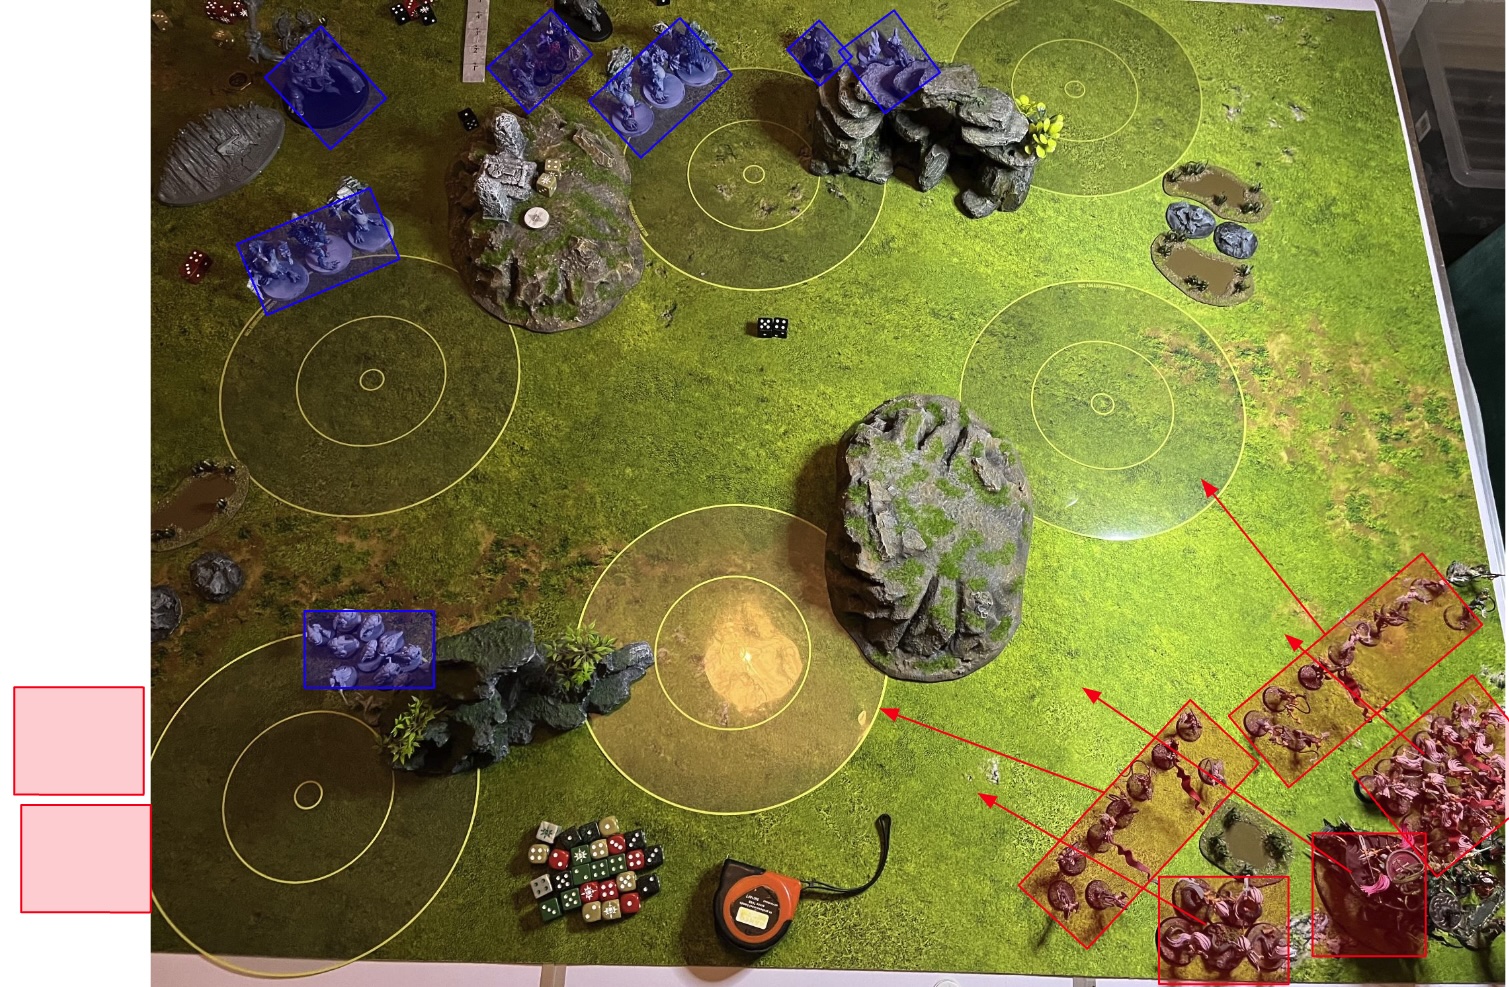 The Devotees picked ‘Cruel Delight’ as their tactic which means 2 Khinerai units were incoming. Unfortunately! My camera skills failed me and I didn’t catch them in the photo… but they were there I promise! The rest of the DoK army moved up and onto the 2 objectives in front of them. Here I intended to score less than my opponent to trigger the battle plan’s special rules so I would have control of the objectives that were being removed.
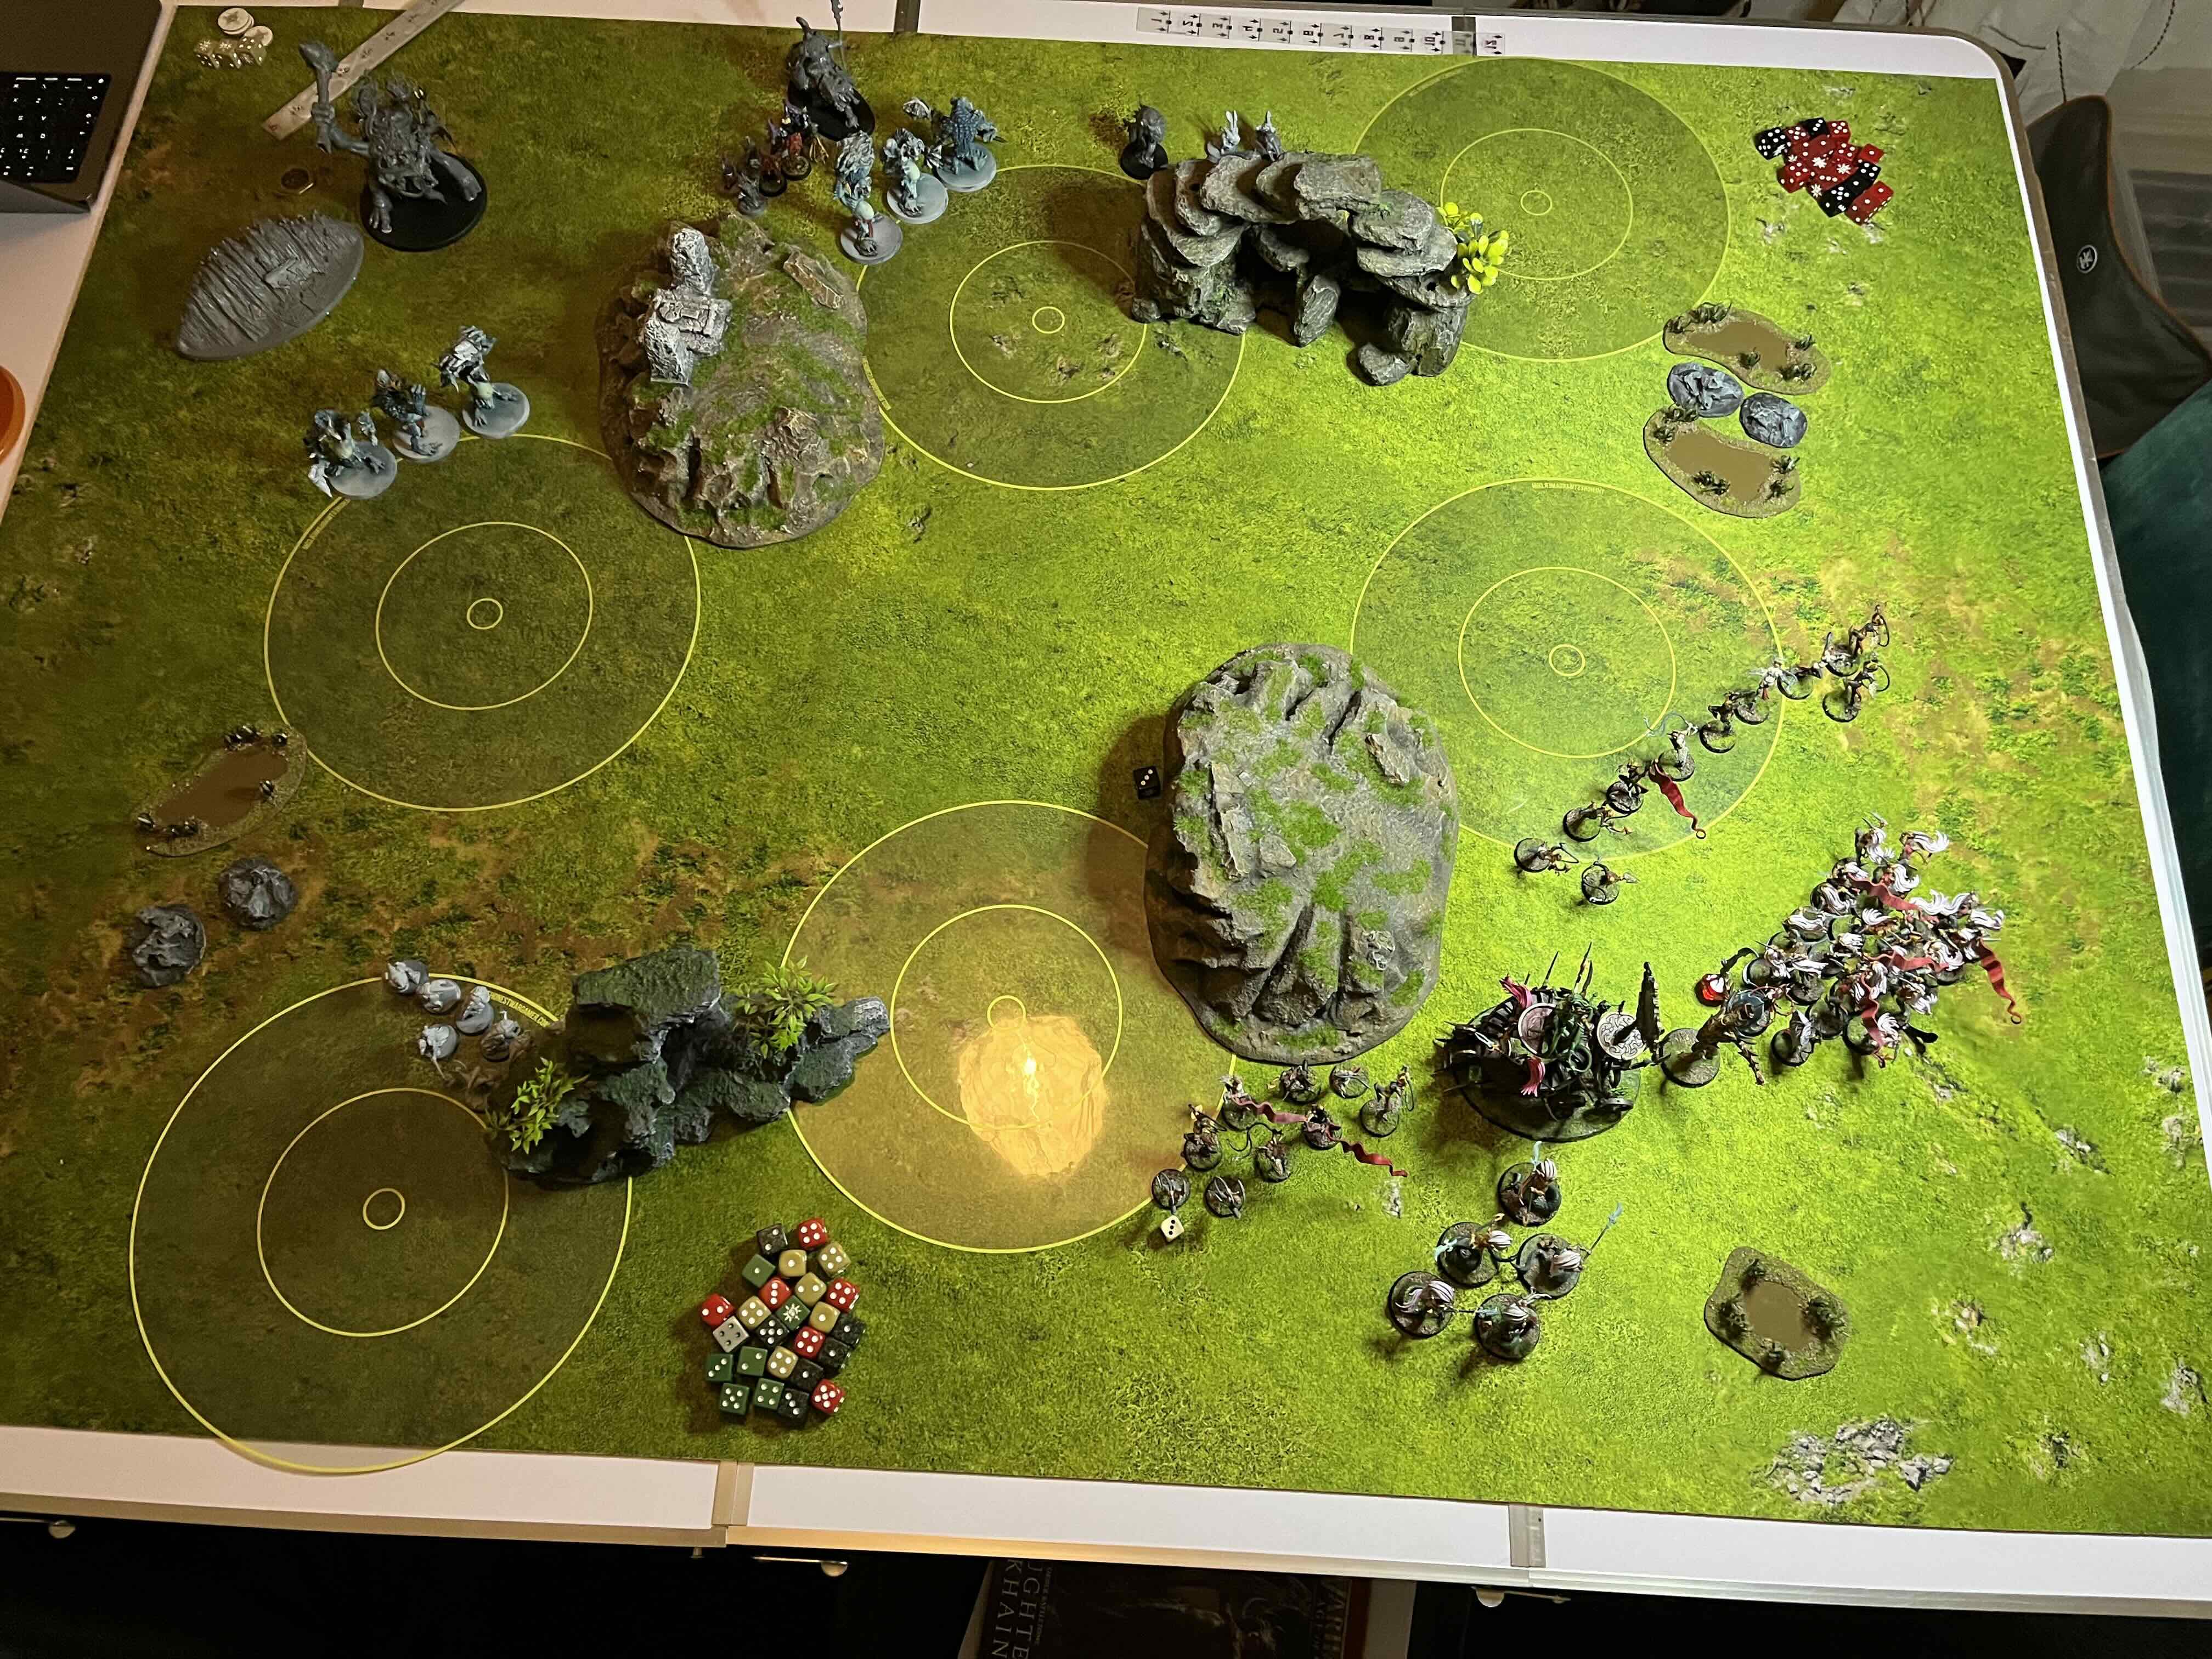
Some random notes! We don’t have a Loonshrine… sooo … that palisade is the Loonshrine at the moment :S Also … I don’t have an Arachnacauldron… sooo … the Ironjaws Gore Grunta represents the cauldron.
Turn 2
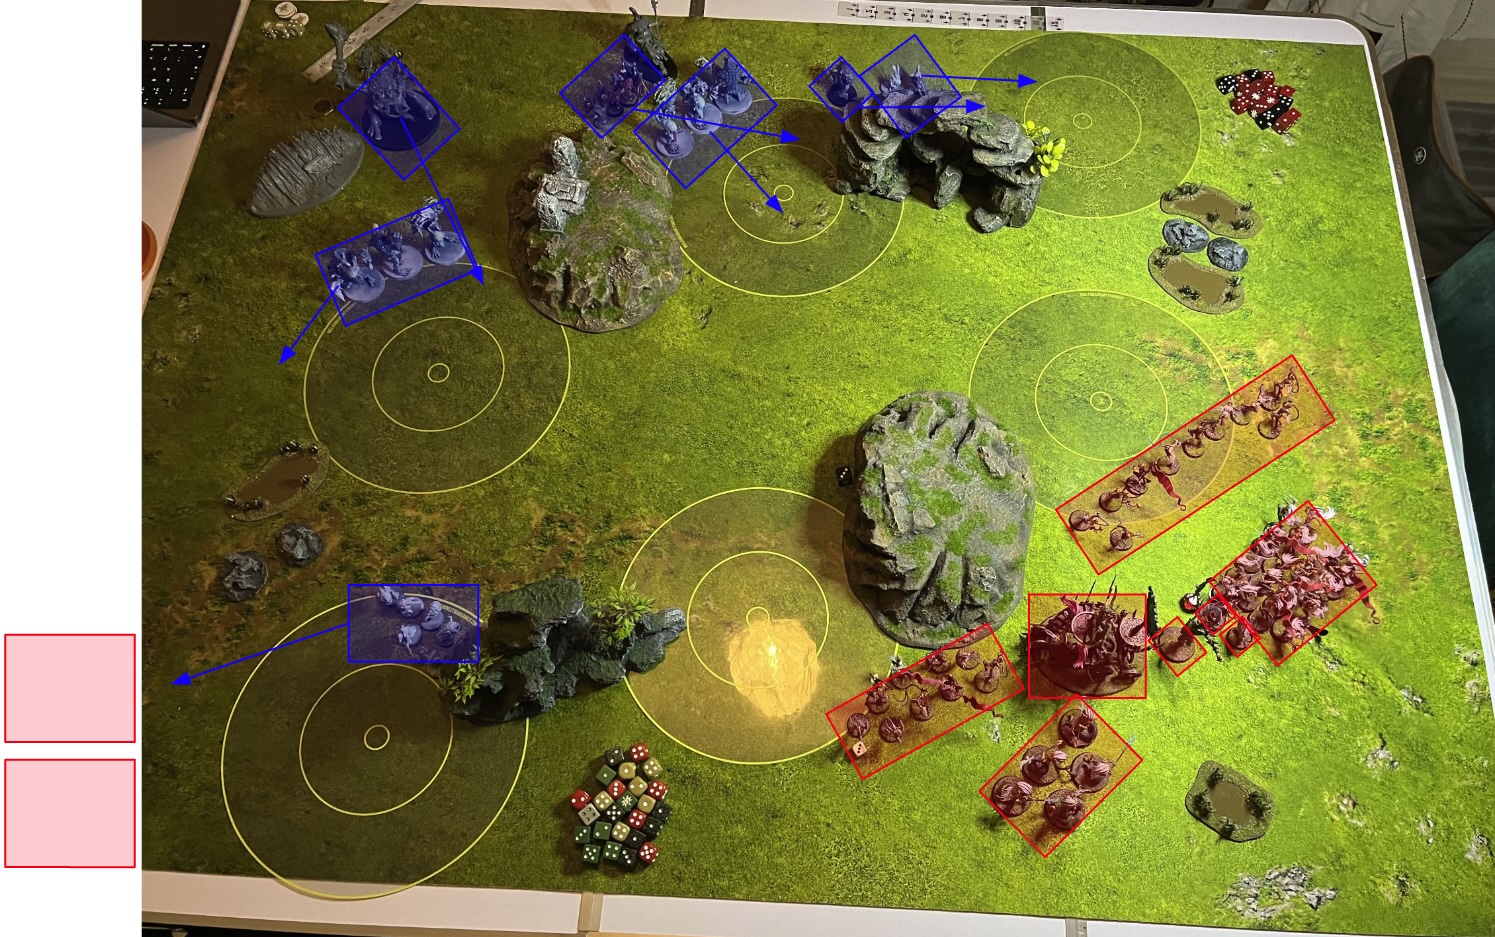 I chose the two objectives partially within Gitz territory to collapse, which did some chip damage but nothing the Trolls healing couldn’t counter. The Gits had priority, choosing to go 1st and picking Stab ‘Em in the Dark as their tactic. Their chosen victims were the closest Khinerai unit which the squigs and trolls moved towards. The rest of the army continued their journey towards the enemy whilst the squiggy general and a unit moved to take the top left objective.
The target Khinerai unit had made a redeploy meaning had a long bomb charge of 11, and with a re-roll couldn’t make it. The squigs however, being much closer made it into combat with the target Khinerai unit … it would be up to them! And after taking a pile of arrows from the other Khinerai unit when they went into charge, down a number they proceeded to start eating! 3 Khinarai went down in combat but it wasn’t enough to take out the unit! The battle tactic looked precarious! But due to an atrocious battle shock roll all the squigs ran, leaving a solitary squig herder left! As the chaotic squigs scrambled away they did 2 mortal wounds bouncing off the heads of the enemy, just enough to wipe out the unit. Dazed and confused, the remaining Squig Herder had achieved the battle tactic for his army!
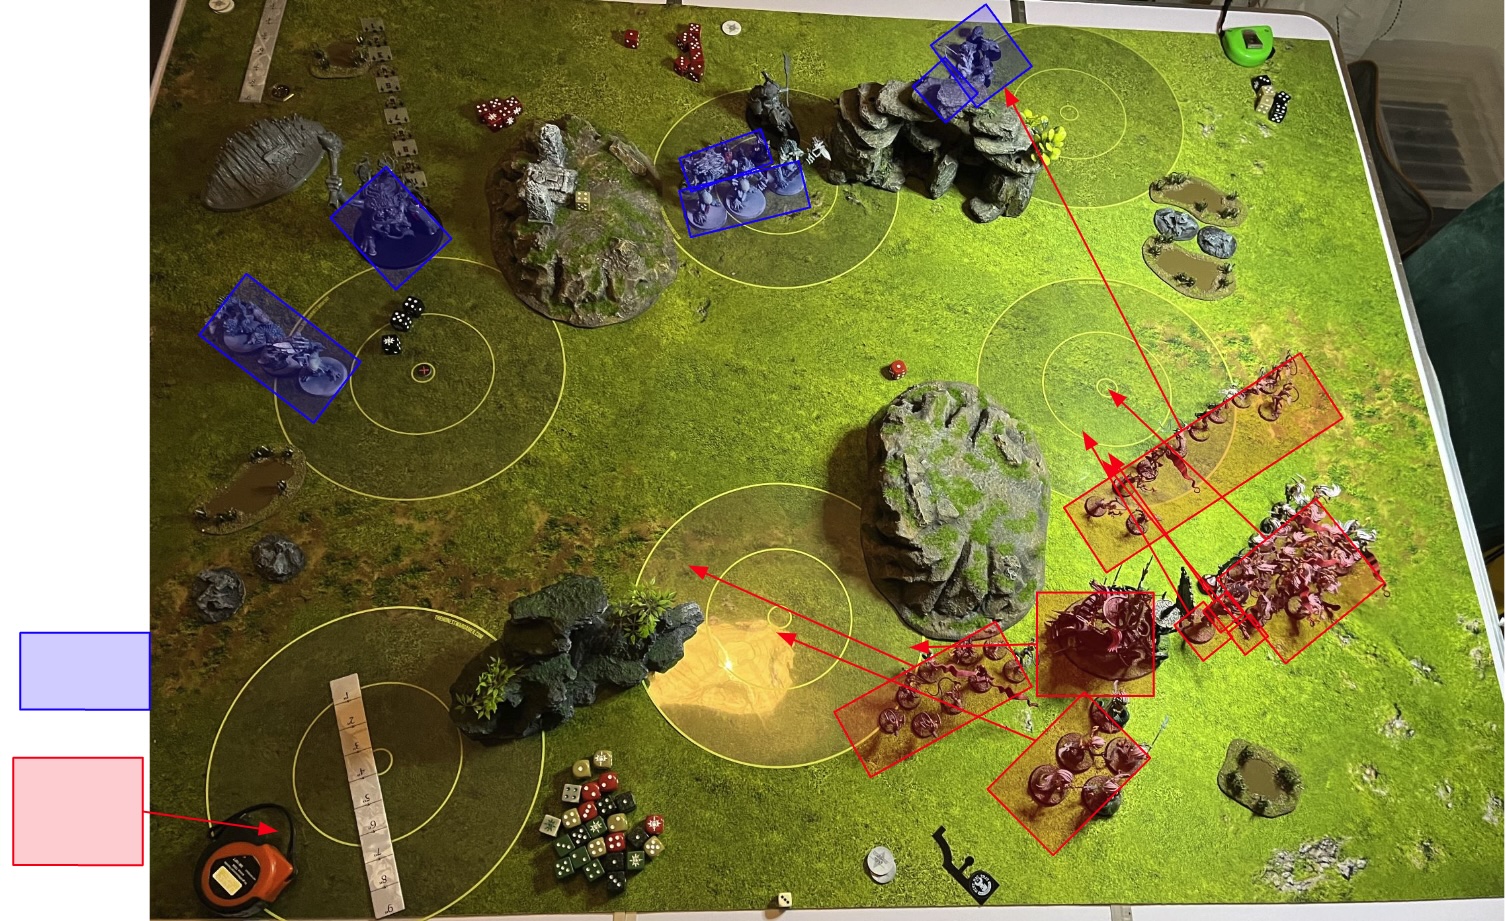
The Devotees were in a tricky position, none of the battle tactics looked achievable! With a Khinerai unit destroyed and the other currently locked in combat they didn’t have the mobility to achieve the movement related battle tactics, and the charges looked dicey. So with a heavy heart they picked a tactic they couldn’t possibly achieve. This left them free to focus on the main objectives, knowing that they would again get to pick which objectives would be collapsed.
Most of the army moved up with one of the witch aelf units even making it into combat against the squigs and the squig boss. The goal here was to pin them in, so do some damage to the squigs, survive the hit back, and then tie them up for a turn in case I don’t win priority. The Khinerai managed to destroy the remaining herder in the shooting phase and then ‘Fire & Flight’ed themselves out of there and onto the objective.
I didn’t want to over extend and so make some very easy charges if I didn’t win priority, but also wanted to make sure if I did win priority my charges would be easy, a tricky balance!
Turn 3
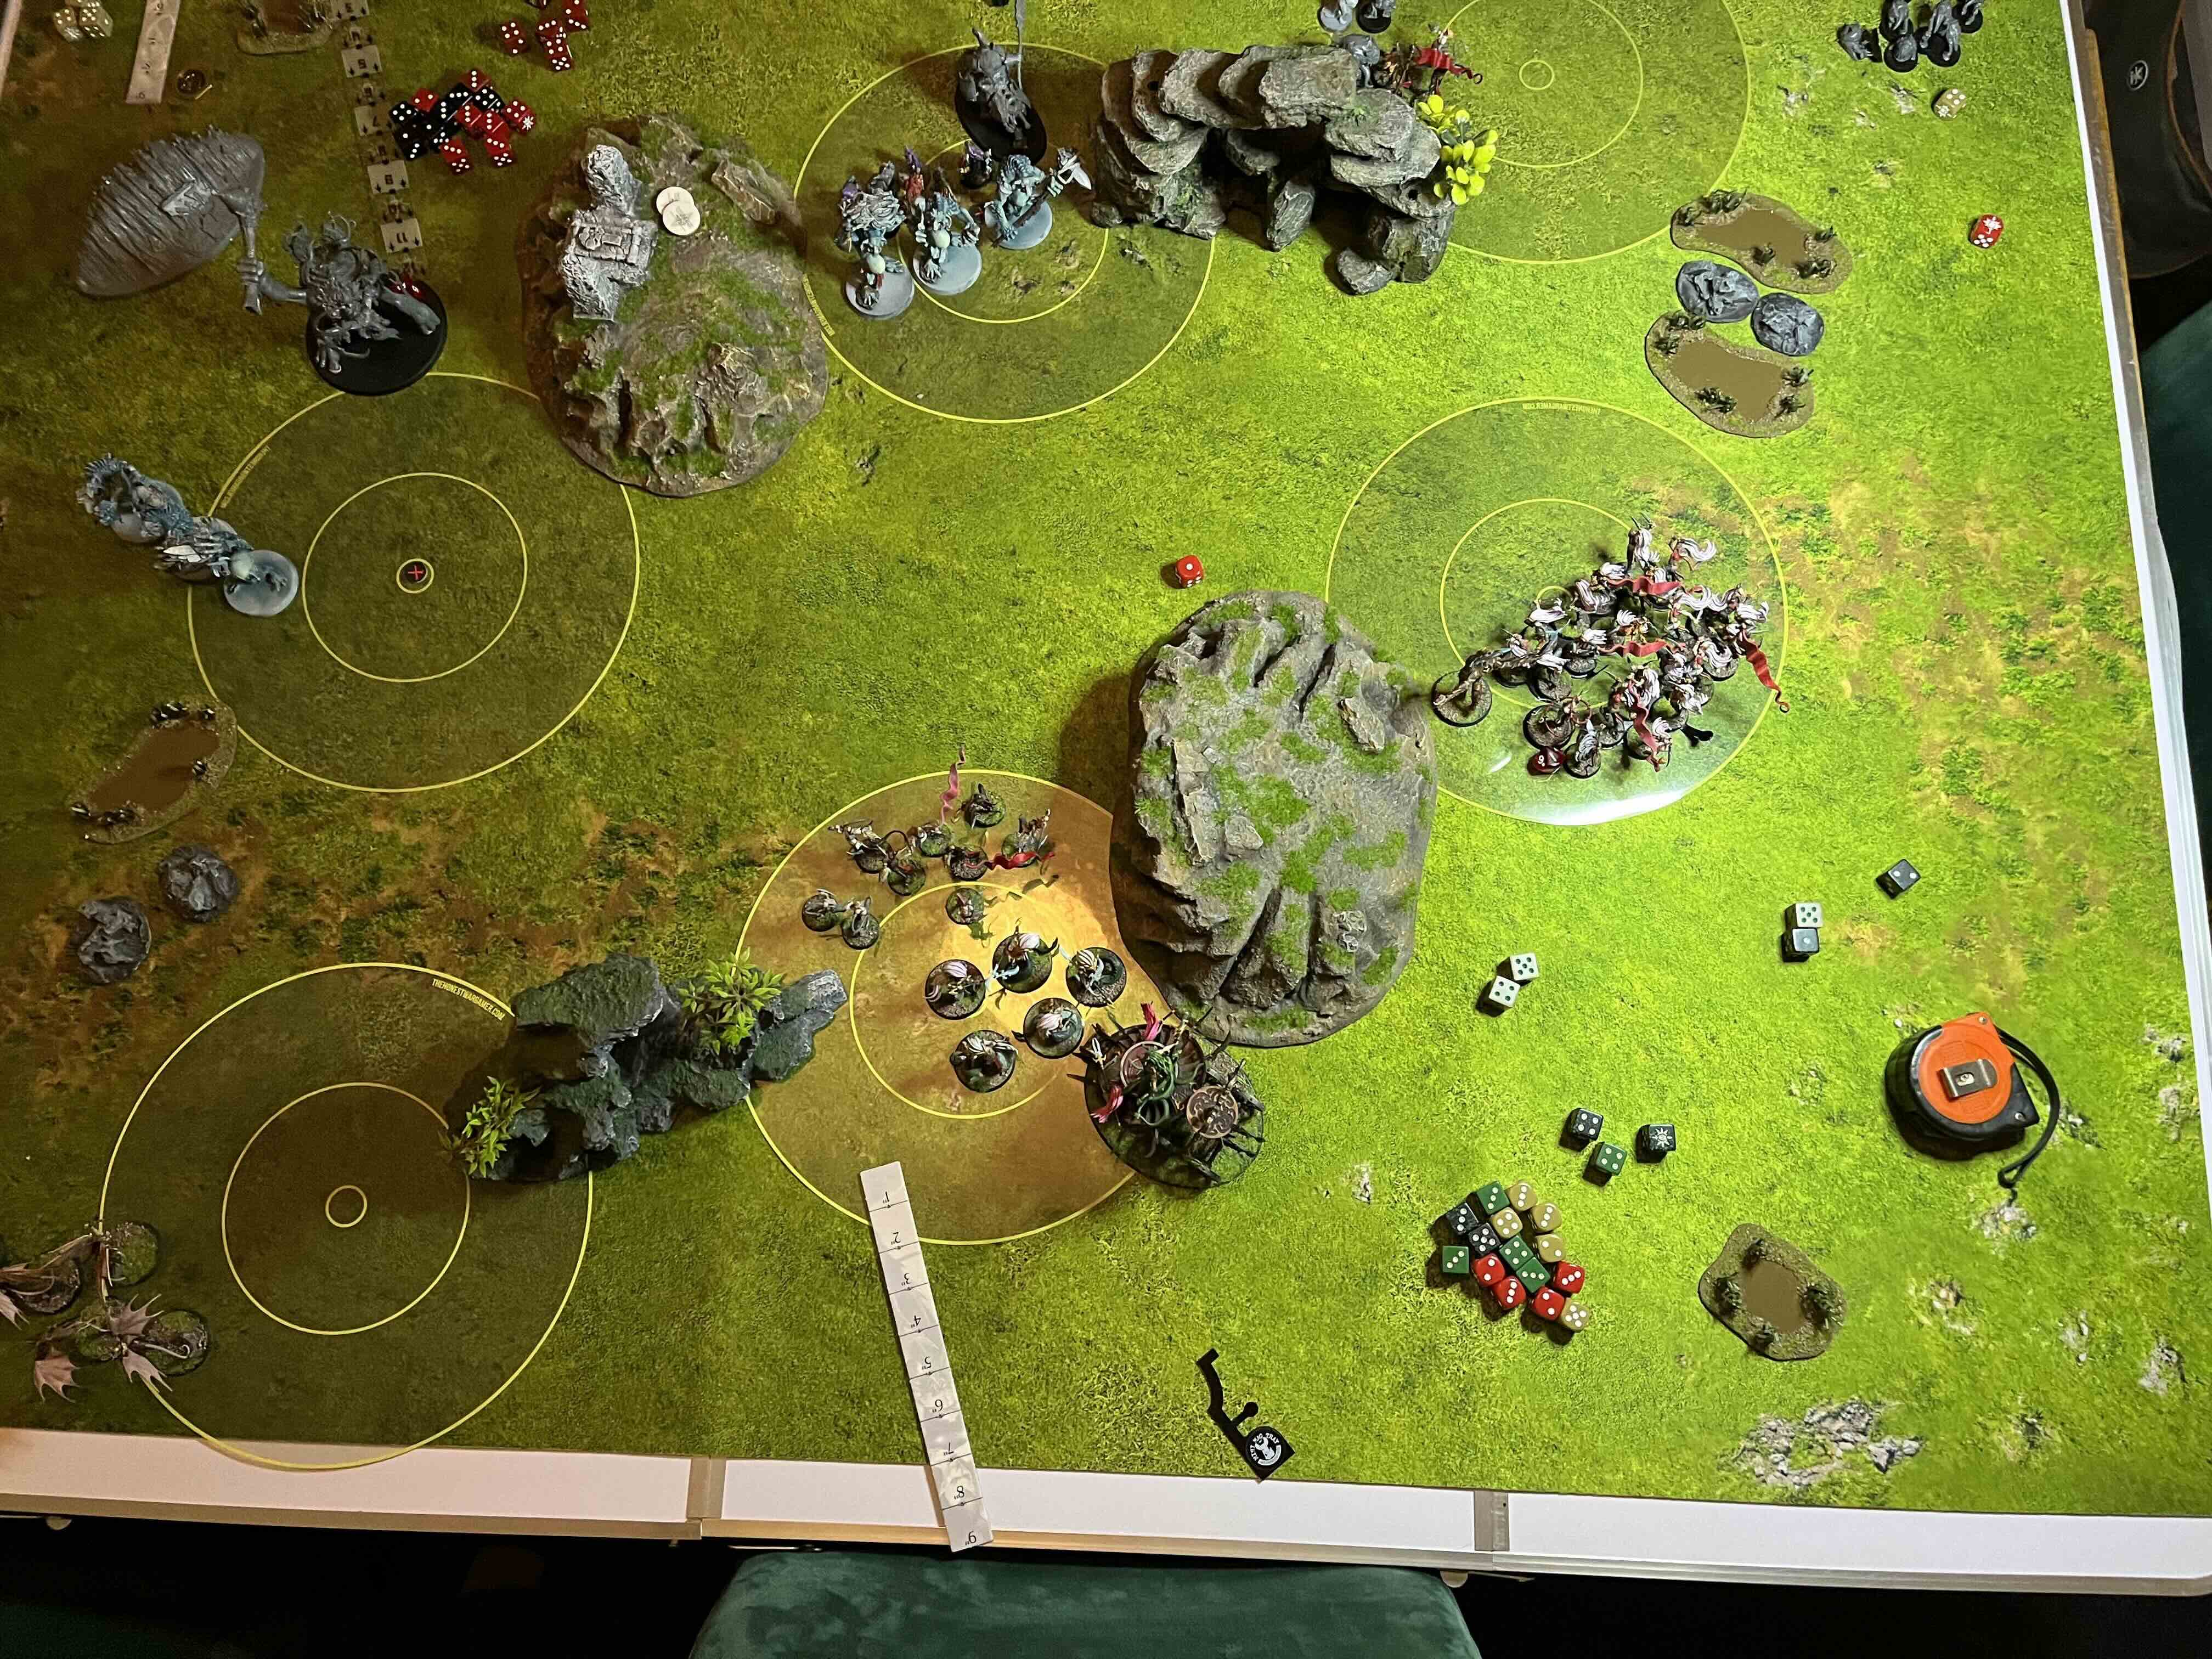
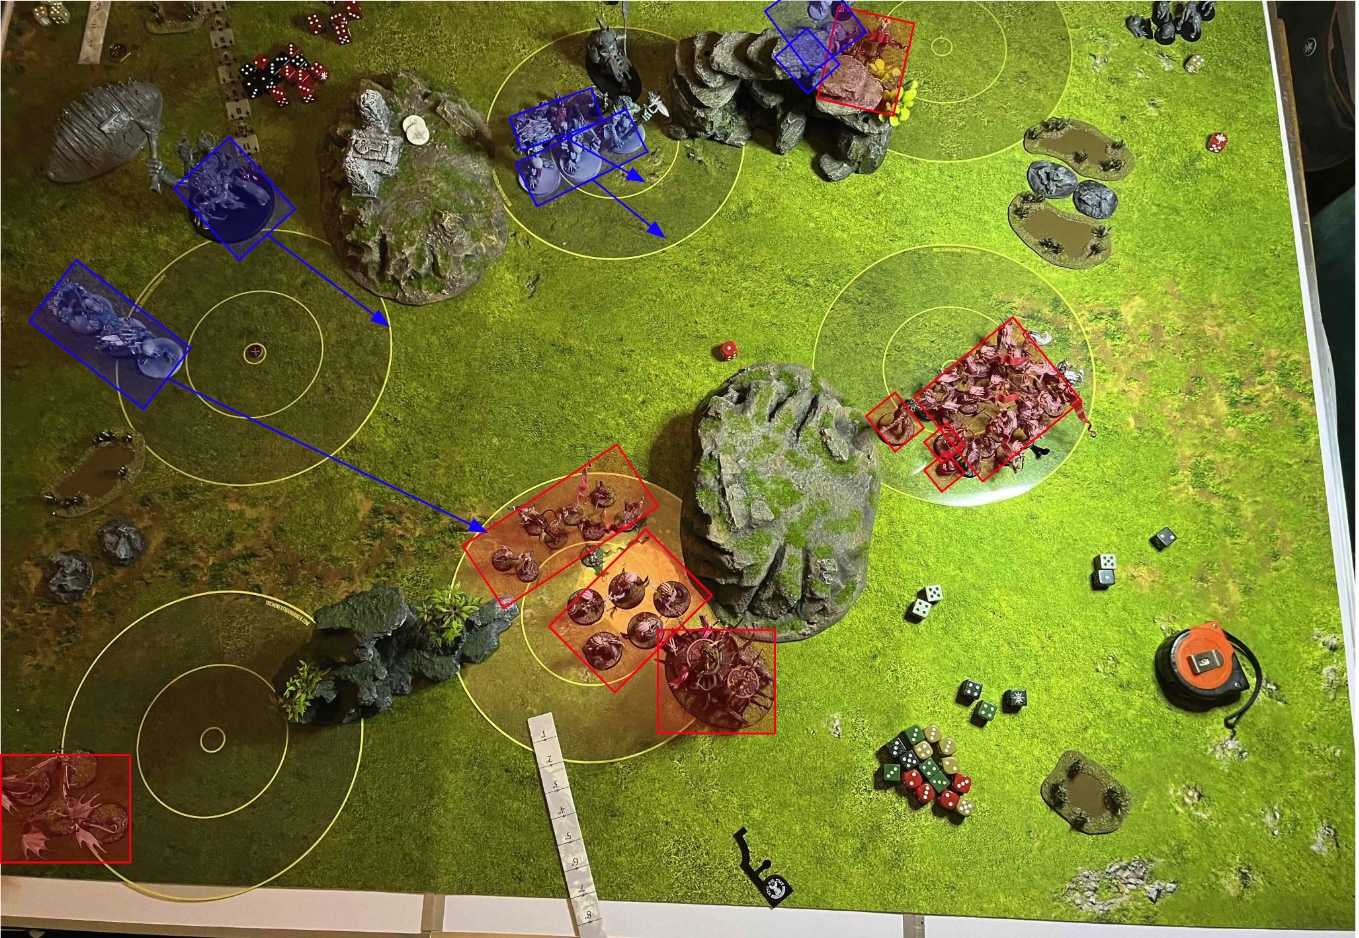 Gitz won priority again and the Light of the Bad Moon followed them into the centre of the board ready for the main scrap. Picking Intimidate the Invaders, the Gitz had to move out. Not only that but with the Nexus Collapse all the objectives on the top half of the board were now deactivated. Everything that could moved up and got ready for the charges! The squigs and the leader finised off the remaining Witch Aelves in the top corner and the unit of Trolls on the left made it into the other small unit of Witch Aelves. Unfortunately for Gitz, nothing else made its charge.
The trolls made short work of the Witch Aelves leaving the Melusai open to a counter charge in the DoK turn. Last but not least a unit of squig herd bound out the Loonshrine ready to fight again! With no objectives scored this turn it was 2 points only for the Gitz as they completed their battle tactic.
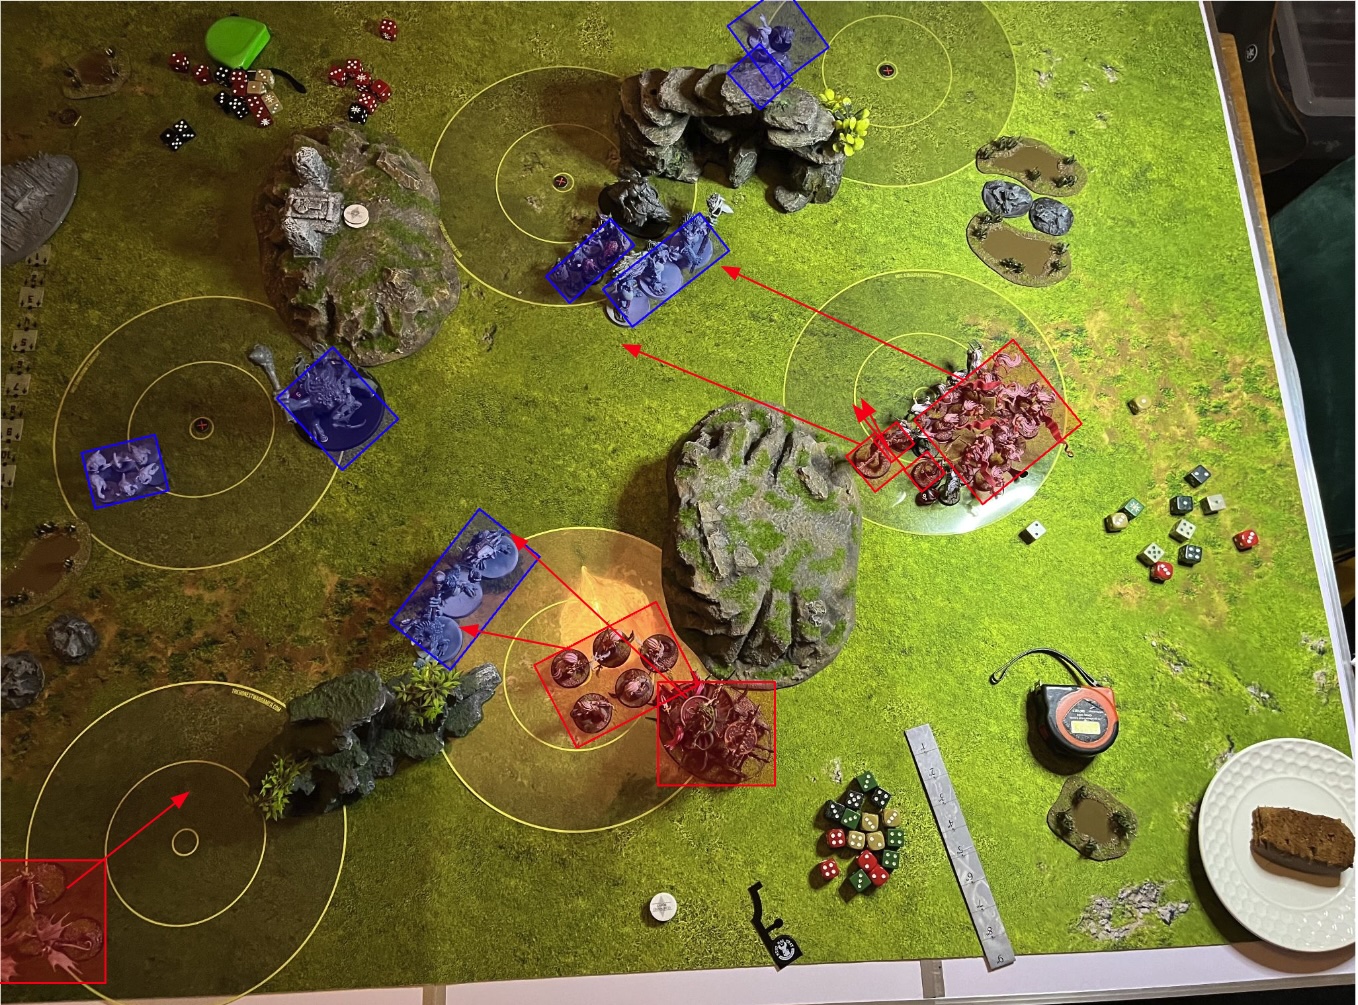
Sensing the opportunity to move ahead, the Devotees chose ‘Clash of Arms’ for their battle tactic meaning they had to make 3 charges, easy enough and in line with what they wanted to do. The Khinerai moved first trying to bait out the redeploy from the trolls near the Melusia. This backfired slightly as it was Trugg who redeployed edging nearer to the DoK forces. With that out the way the rest of the force moved forward ready to engage.
At the start of the combat phase Zarbag unleashed his sneaky surprise, and out popped a Fanatic, this little dude meant that the Avatar of Khaine couldn’t get his long charge into Zarbag and instead ended up towering over the fanatic. Such is the way of things he didn’t last long as the Avatar stomped him into mush with his monstrous action.
The rest of the combats largely went the way of the DoK, sadly from my point of view I didn’t quite do enough to wipe out the two troll units, but I did take out 2 of each of their members in their respective units with minimal casualties in return. So much so that the Bloodwrack Shrine ended up out of combat on its turn to fight so made a sneaky pile in move closer to Trugg without engaging.
And with that the turn ended, the trolls and Zarbags gitz were either wiped out or massively reduced in numbers, and DoK got their battle tactic and the primaries. They’d moved ahead for the 1st time!
Turn 4
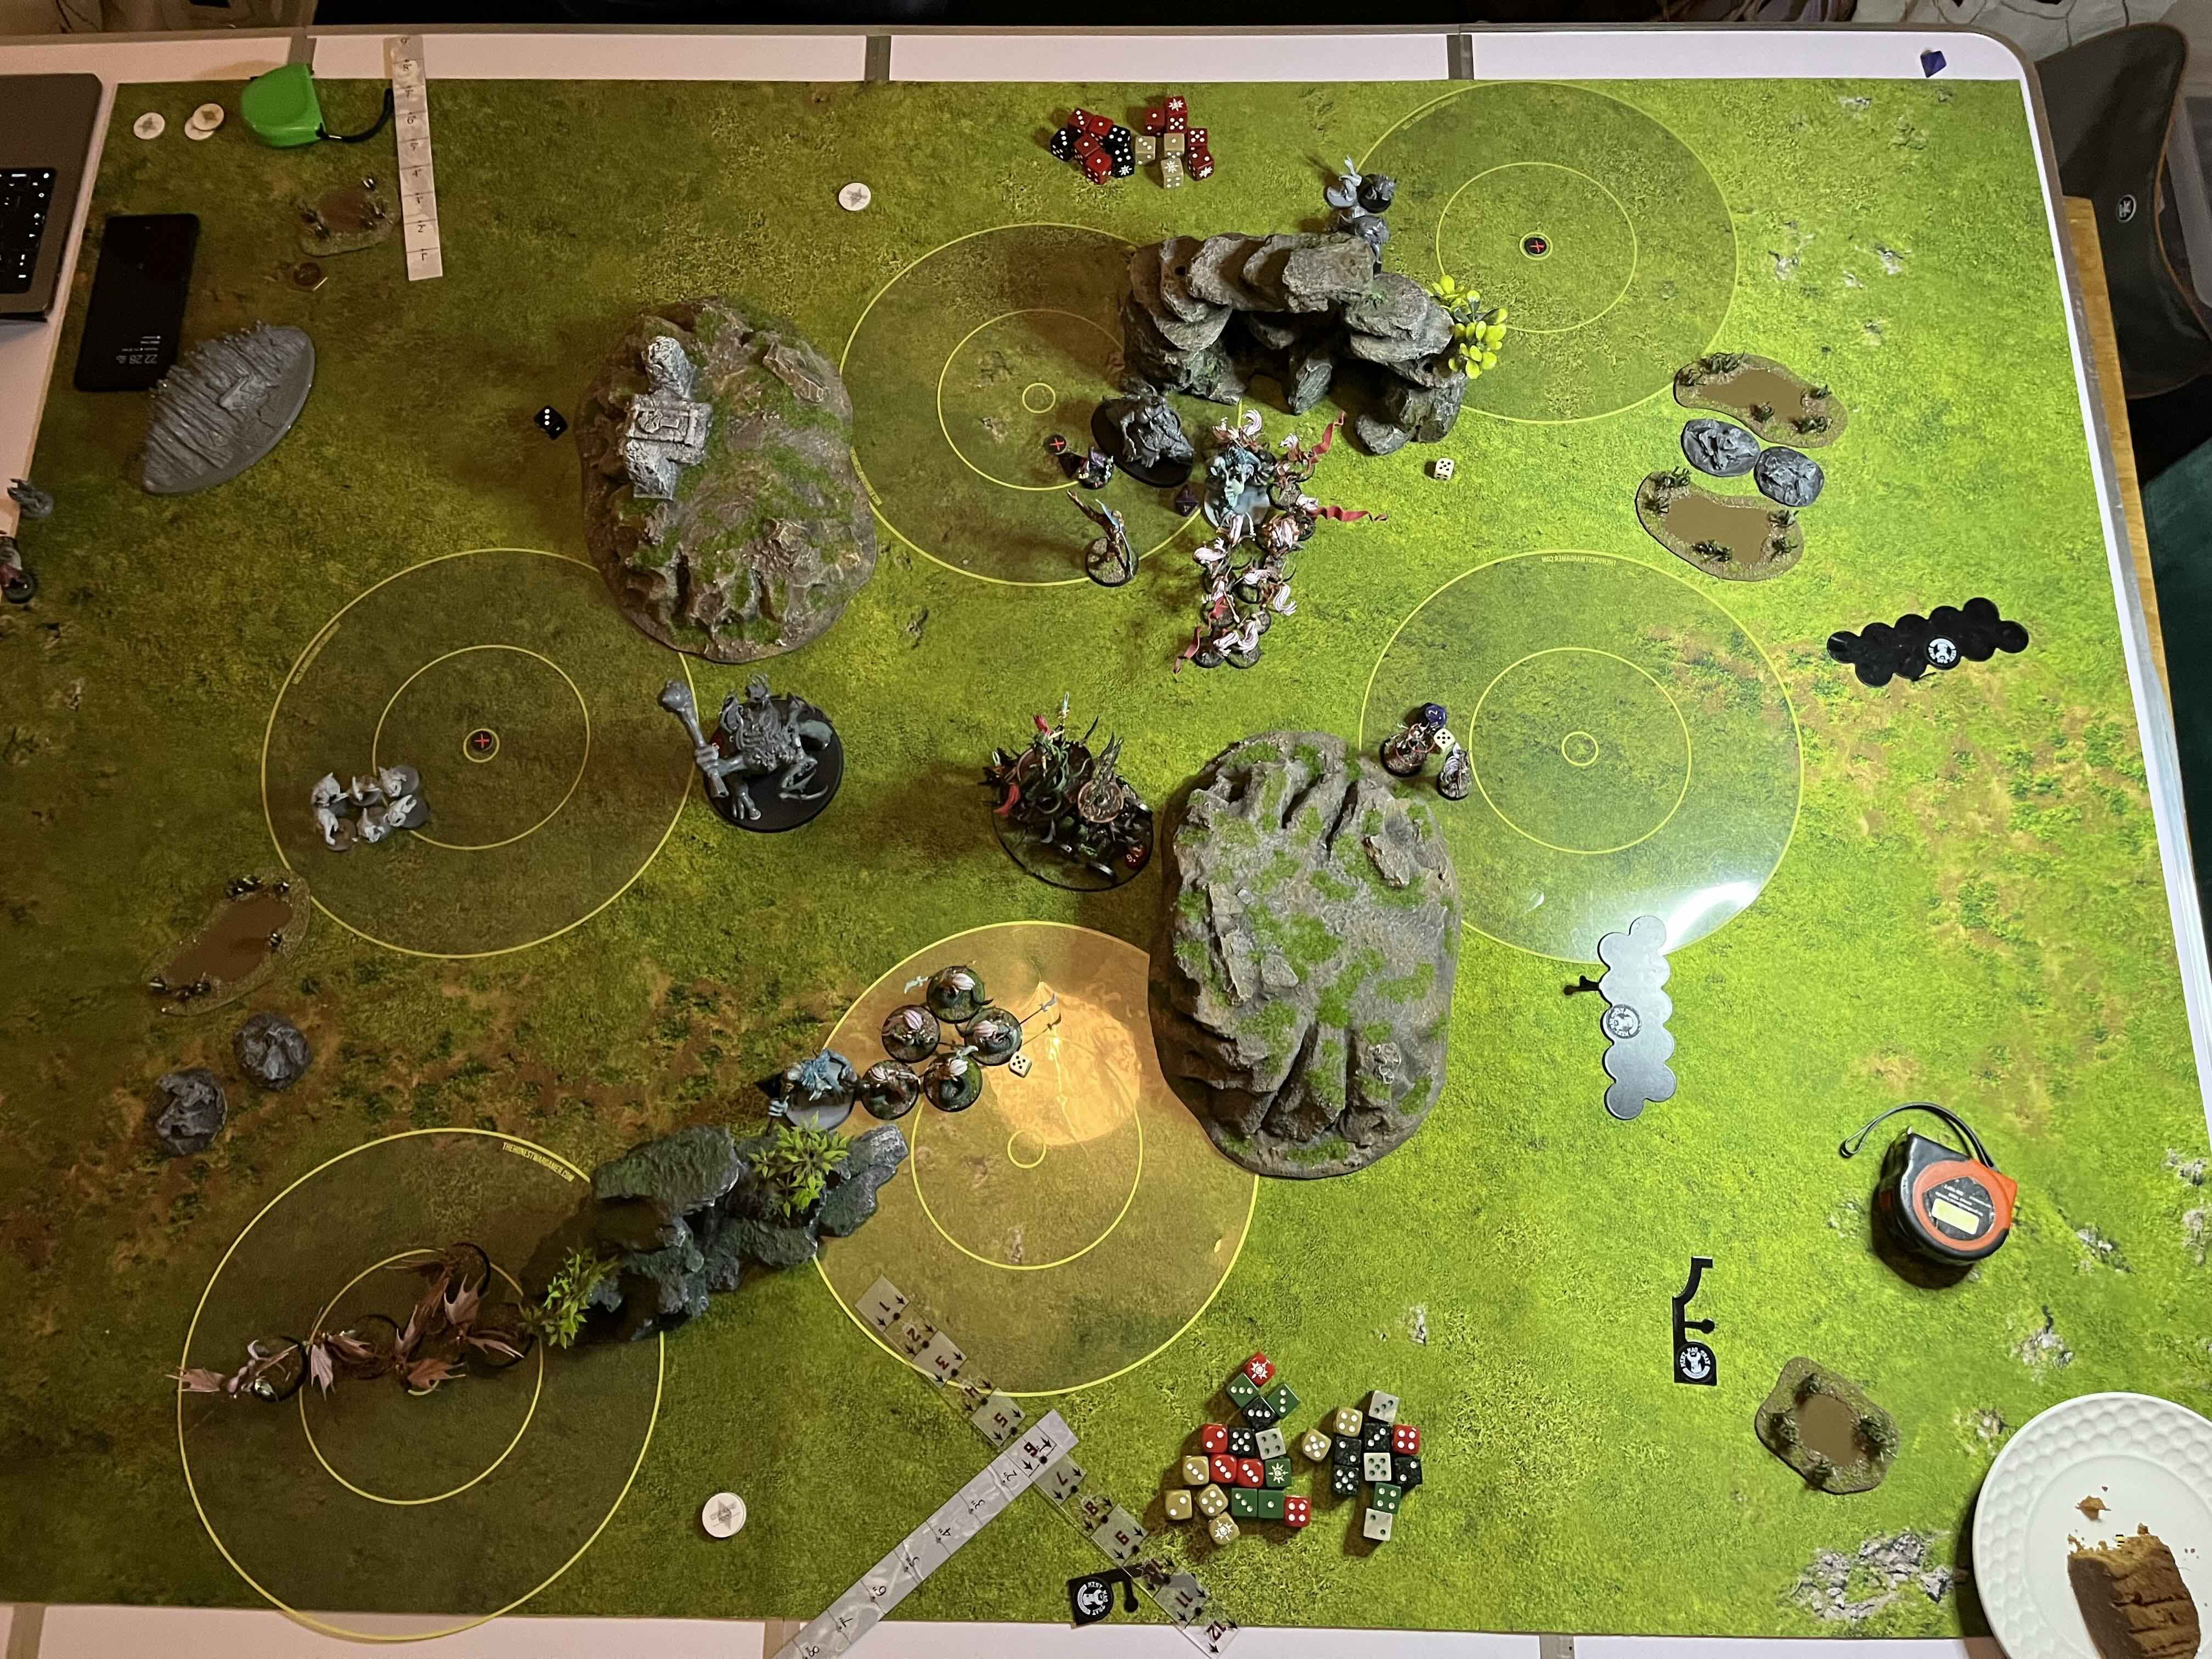
 Being behind on VP for the first time, the Gitz chose to collapse the two bottom objectives left and central, luckily doing minimal damage to the devotees. The irrescable Gitz then moved in for the kill with Big Trogg leading the way. Picking ‘Led into the Maelstrom’ for their battle tactic. Everything except Zarbag (who retreated) moved closer to the Devotees, ready to charge!
In the hero phase Zarbag got off a few nasty spells on the Slaughter Queen to try and take her and her ‘fight in the hero phase’ command ability off the board. She was inflicted with Itchy Nuisance and Jealous Hex, meaning she was ‘strikes last’ and couldn’t add positive modifiers to hit, wound or save rolls. Emboldened, the Loonboss moved in for the kill!
All the Gitz made their charges and so the violence could begin! The Avatar and Trugg duked it out leaving the Avatar on 1 wound and taking a decent chunk out the Shrine. Trugg is a bit damage-y in combat if his attacks get through, I am glad he’s only been in combat for one round so far! Trugg took 8 wounds himself but knew there was some healing coming soon. The Squigs at the bottom took a decent chunk out of the Khinerai leaving just two left and the Witches and the Snakes dispatched their remaining Troll foes.
Even with a redeploy the Loonboss had more than enough movement to get across to the Slaugher Queen, which he did. His backup, the Squig Herd, chose to go into the Gladiatrix. After a pretty tepid fight from both combatants the Slaughter Queen was left on 1 wound and looking extremely vulnerable, especially as her debuffs would last through at least the next player turn, whilst the Gladiatrix and the Squigs didn’t really do much damage to either party.
But it was a max scoring round given the remaining objectives leaving the Devotees playing catch up.
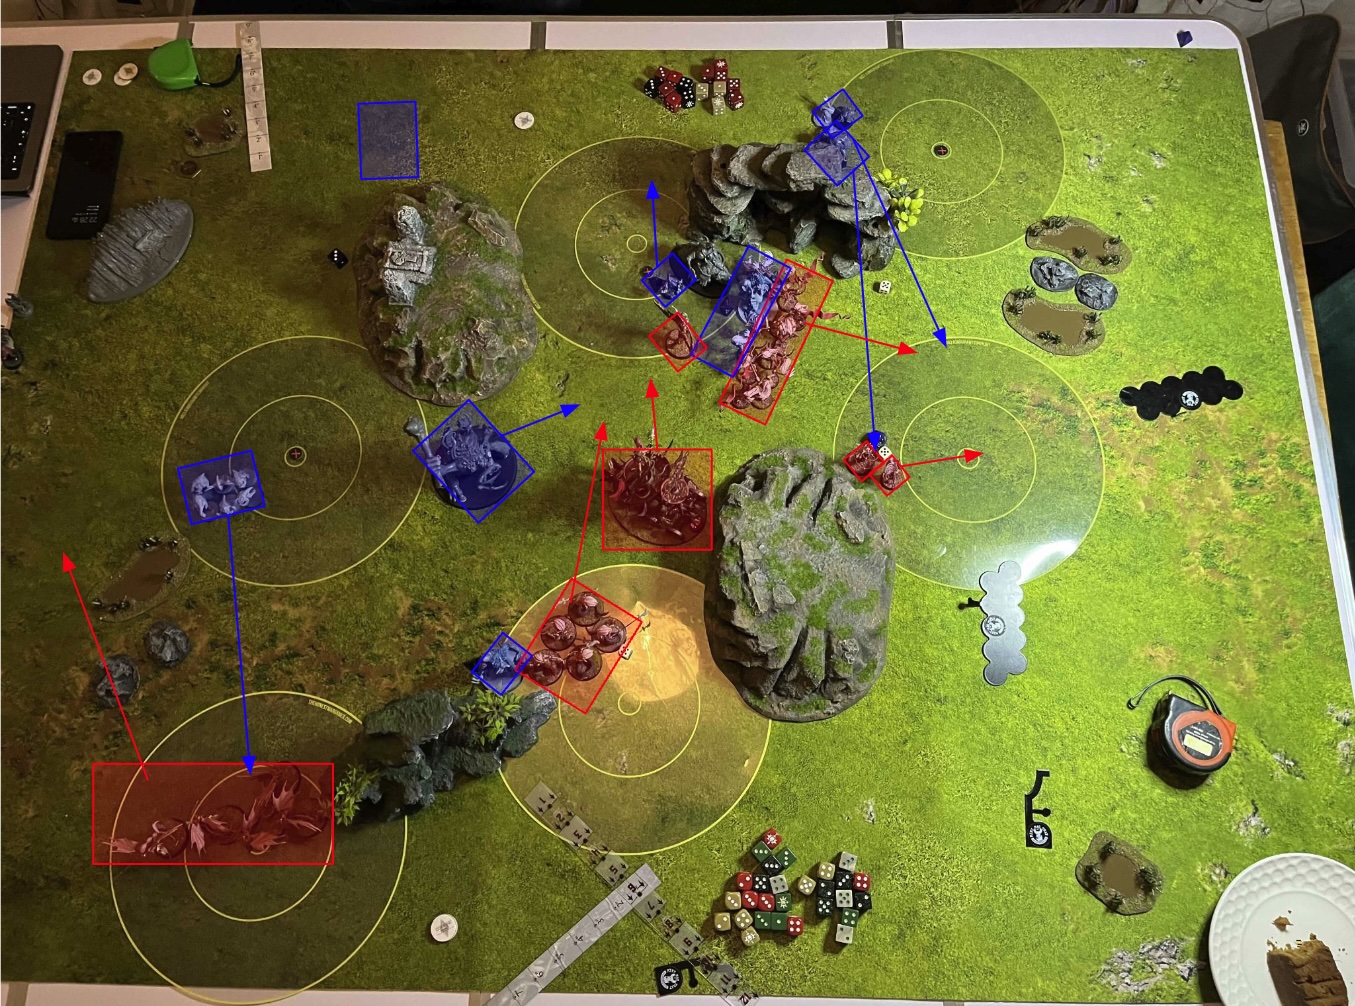
Sadly, I forgot to take a photo here! So I’ve had to repeat the last one with more arrows :S
I had to score my battle tactic and claim the objective to stay in with a chance of winning. I had some difficult choices here. I knew I was going to be retreating my Slaughter Queen, I did not want her to die this turn. But I wasn’t sure what to do with High Gladiatrix, would she get through the rest of the Squigs this turn? I decided to risk it. The tough call came down to what to send into Trugg. I knew my big block of witches could handle him, but if they didn’t make a move onto the objective then I risked losing those two point for “hold 1, hold more” and with my Avatar down to 1 wound, my Shrine looking a bit worse for ware, the only other thing that could go in was the Snakes. And whilst very fragile I thought they might have the output even with Trugg under the light of the Bad Moon, especially if I could get Mind Razor off. With that, I chose ‘Intimidate the Invaders’ as my tactic (pretty much auto as given the pieces I had left as long as my Snakes made the charge!) and decided to move my witches onto the objective to try and secure it in case my Gladiatrix failed.
The Winds of Magic failed my all battle and this did not change this turn. I once again:
- Failed to get any primal dice
- Failed to dispel the Arachnacauldron on a 5
- Failed Mindrazor
- Failed Mystic Shield
Aside from the first and last turns this is how every hero phase went.
But, all charges were made and the fight continued! My avatar fought in the hero phase knocking a few more off him, but then the tough choice was whether to attack with my snakes first, meaning the avatar would almost certainly be killed before they got to attack, or go with the avatar meaning the snakes might not get a chance. With the mortal wound output of the snakes I chose to go with them first. The snakes and the cauldron managed to get Trugg back to 14 wounds taken leaving him heavily bracketed and there was now a chance for a kill next turn if a low heal happened! Meanwhile Trugg casually smashed the Avatar to bits before eating and goring his way through 2 snakes.
In the other combat the High Gladiatrix managed to dispatch the remaining squigs taking minimal wounds herself. On the other side of the board, remembering the gitz Grand Strategy was ‘Protect da Shrine’ the remaining Khinerai retreated and attempted to make their way over to the Shrine. Would they survive the next round??!?!
At the end of this round it was tight with Devotees leading 16-15 and the Gitz having completed more battle tactics so winning ties. The Devotees definitely had more pieces on the board but could they get where they needed to be? And would they still be there by the time their turn came to pass? Down to the wire on turn 5!!
Turn 5
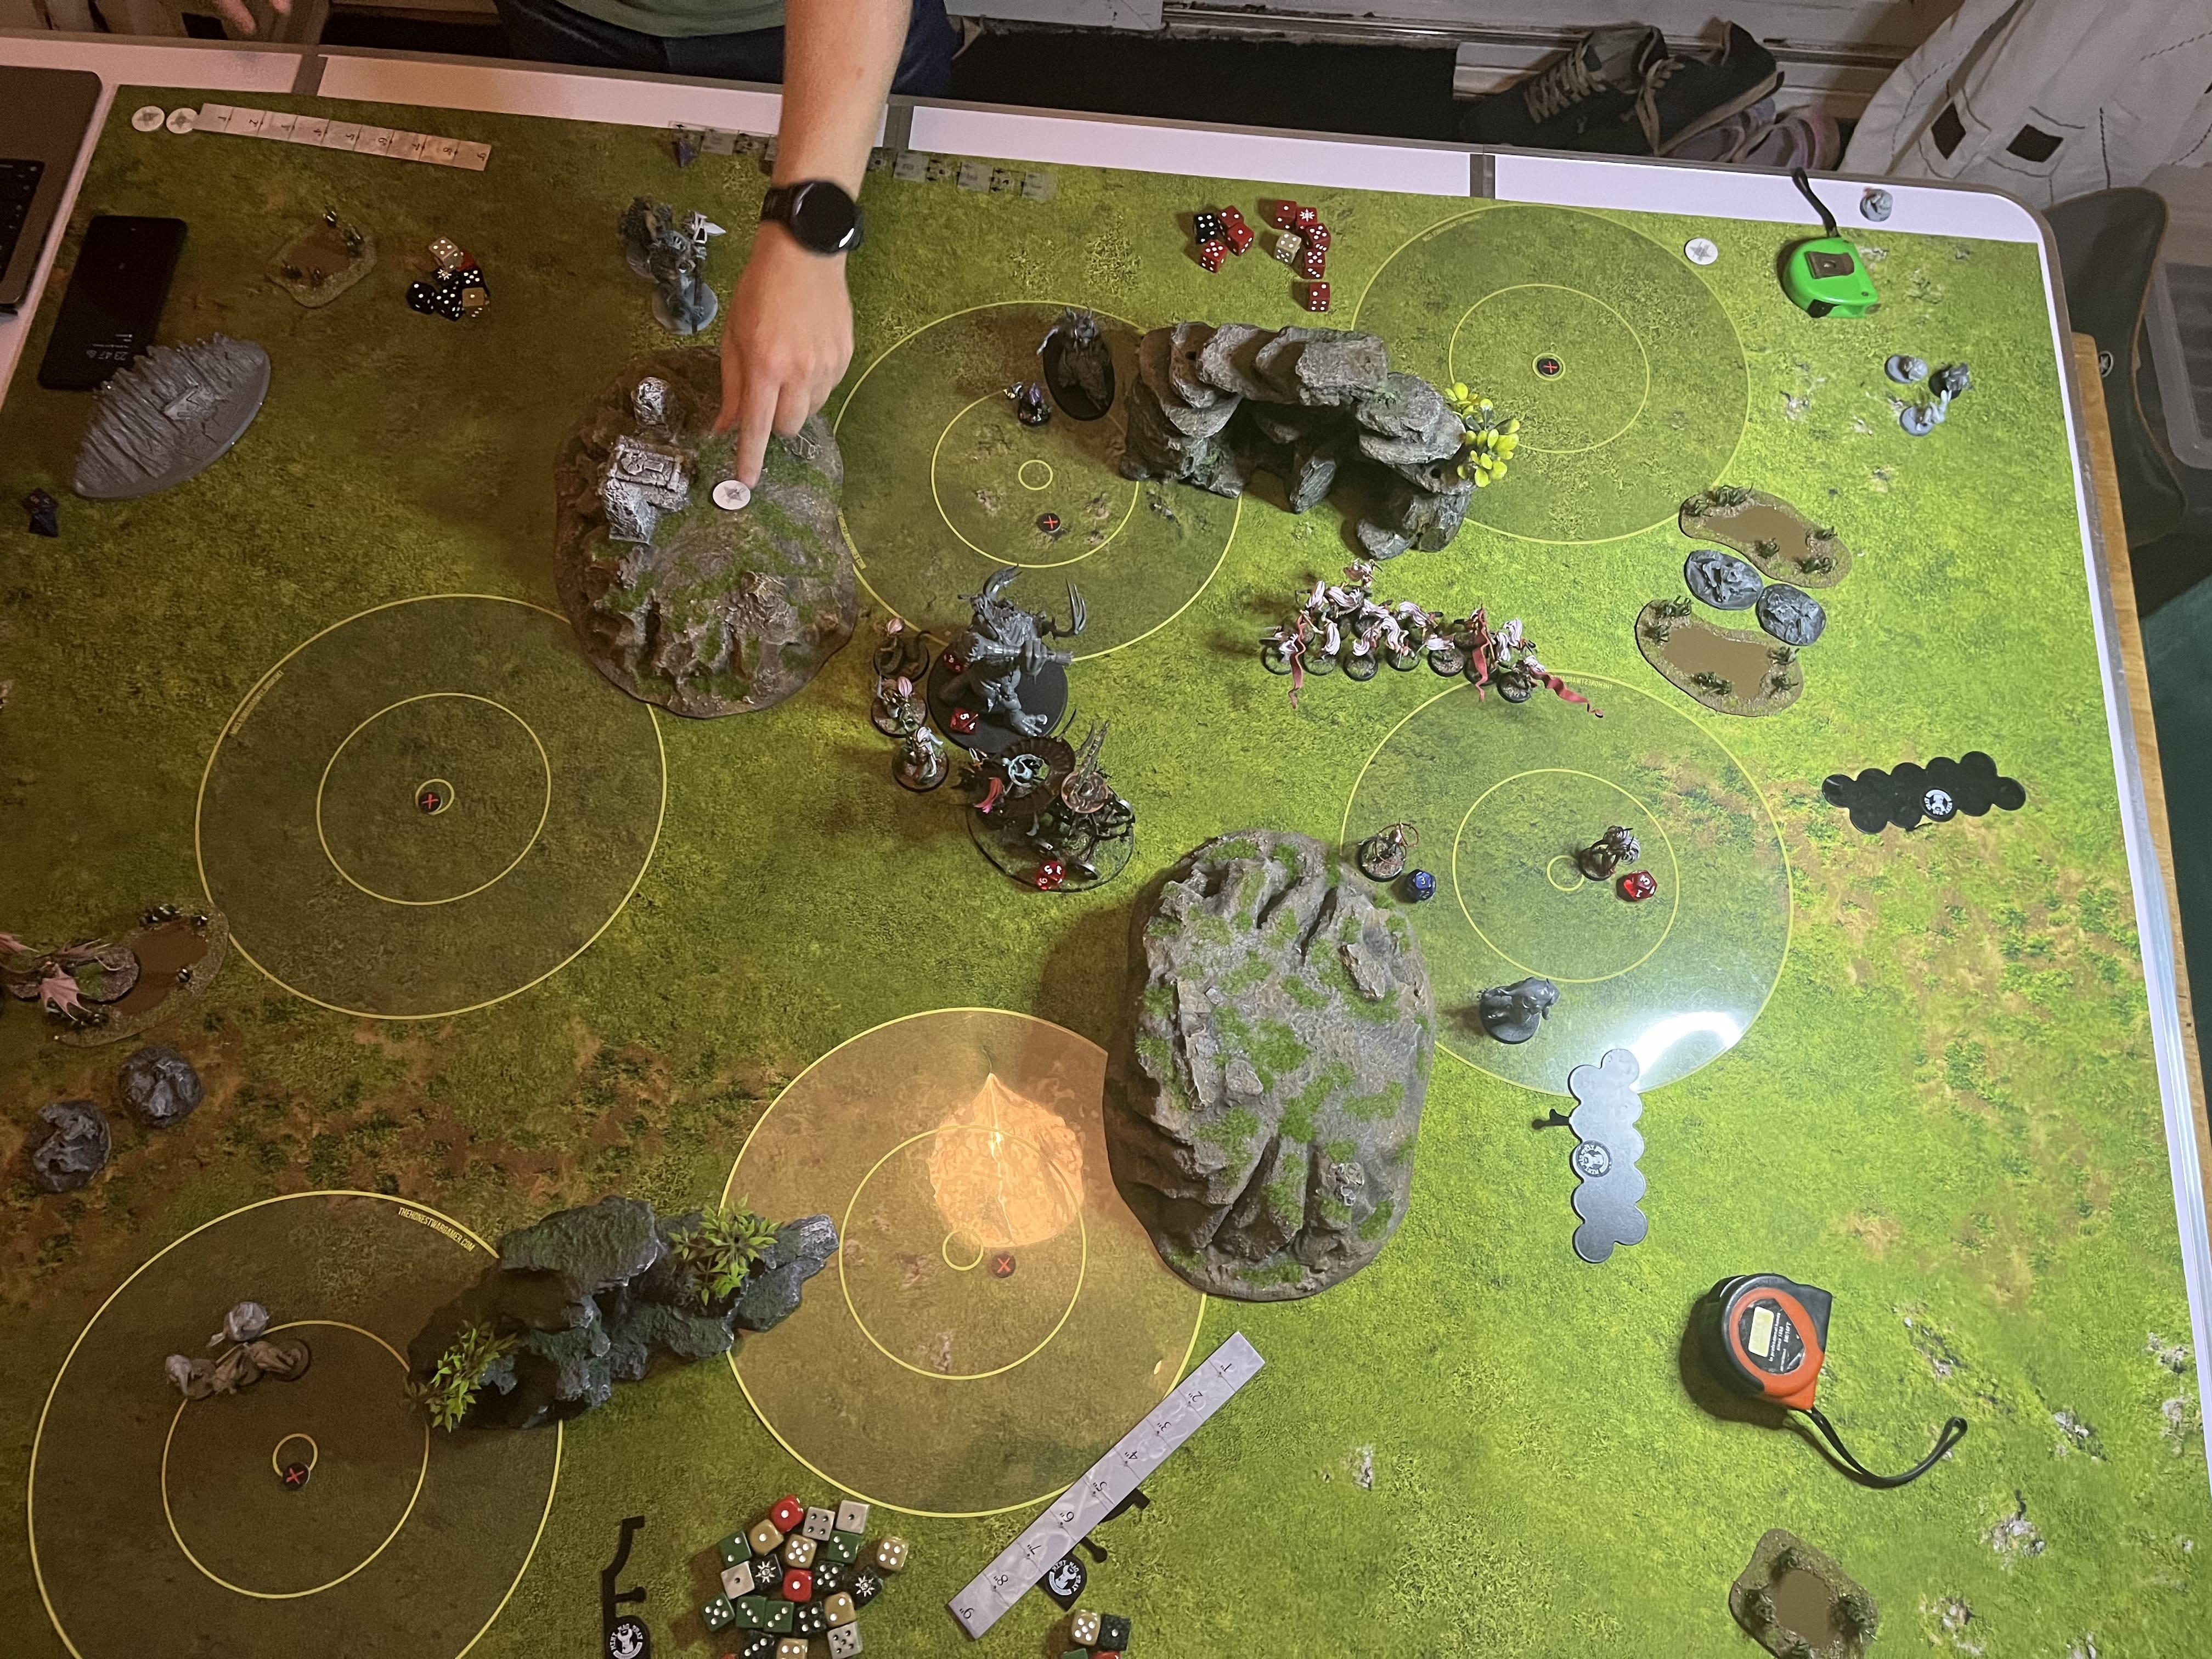
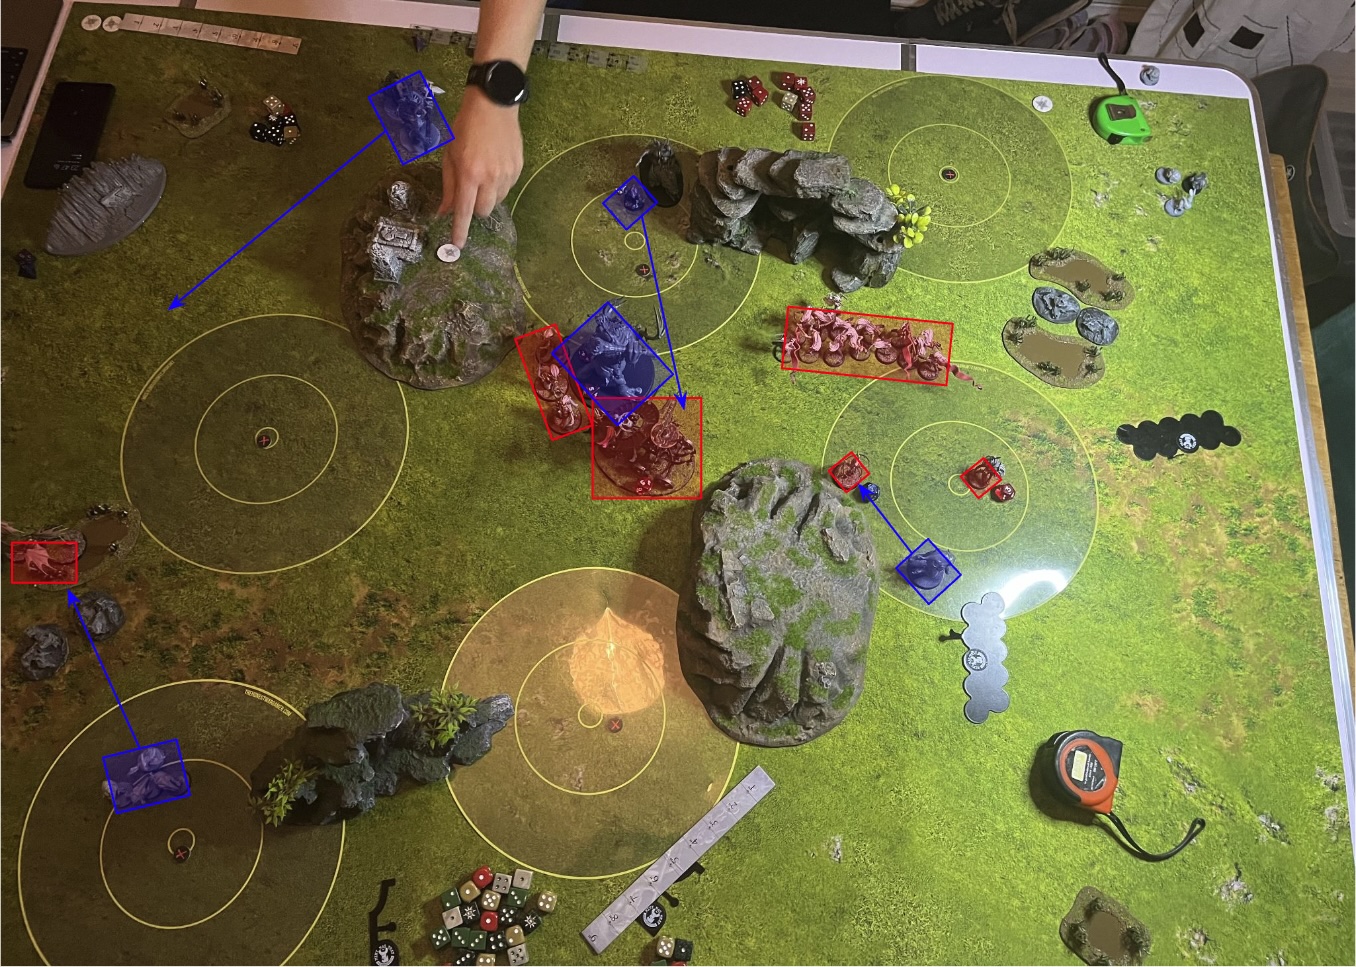 Still behind on points the Gitz collapsed the final objective and failed to kill either of the remaining Devotees foot hero’s, both were left on 1 wound remaining! They picked magical mayhem as their final battle tactic and took a risk on arcane bolt coming through before the end of their turn.
The trolls moved to try and protect the shrine whilst the Loonboss set himself up for a charge on either of the remaining heroes.
And finally, Zarbag’s battle tactic play! He moved up, charged the Shrine, getting himself just within 12” and at the start of the combat phase released the arcane bolt right into the Slaughter Queens face. Down she went like a sack of spuds. The Loonboss was free to charge the Gladiatrix and the Squig made short work of her. Trugg in his death throws ate one snake lady and then smashed another 5 wounds off the Shrine leaving her on just 3 left. But it wasn’t enough to keep him alive, the snakes and the cauldron finishing off his last few wounds and bringing him down.
To keep his dreams of his grand strategy alive the Squigs had to charge and kill the last of Khinerai. And whilst they made the charge, at the end of the combat, 2 were left standing. It wasn’t going to be enough to deny the Daughters of Khaine this time.
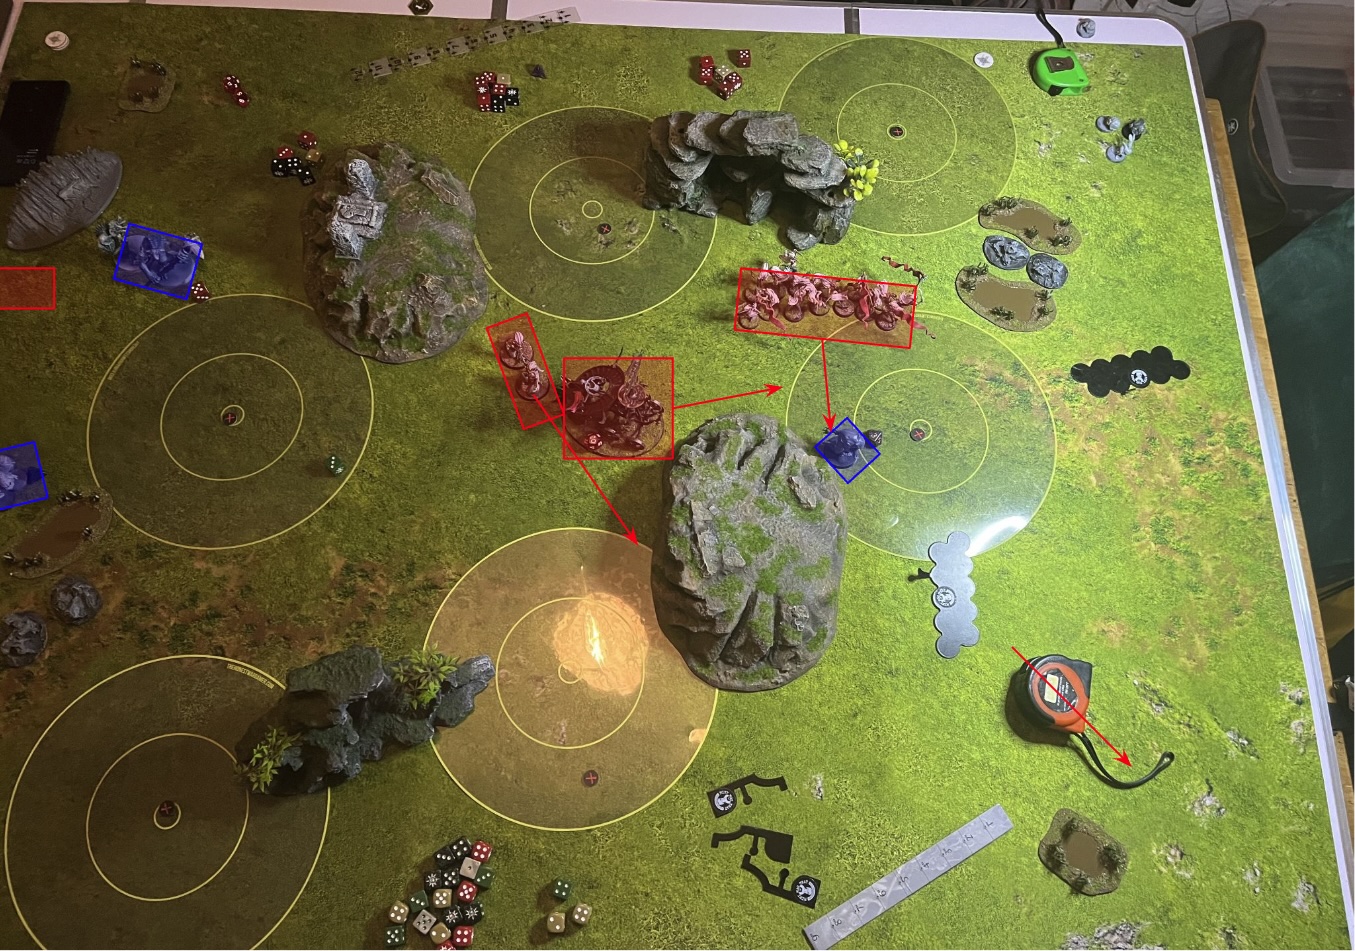
The last of the major threats eliminated the remaining Devotees force looked to gain maximum points on both the battle plan and in their quest. Picking ‘Reprisal’ the large unit of witch aelves moved in for the kill on the Loonboss and the Khinerai moved onto the Loonshrine to prevent the Grand Strategy. With that the game was basically over and the remaining units moved either into my territory to ensure the Path to Glory quest was completed, or moved into the enemy’s territory to gain more renown.
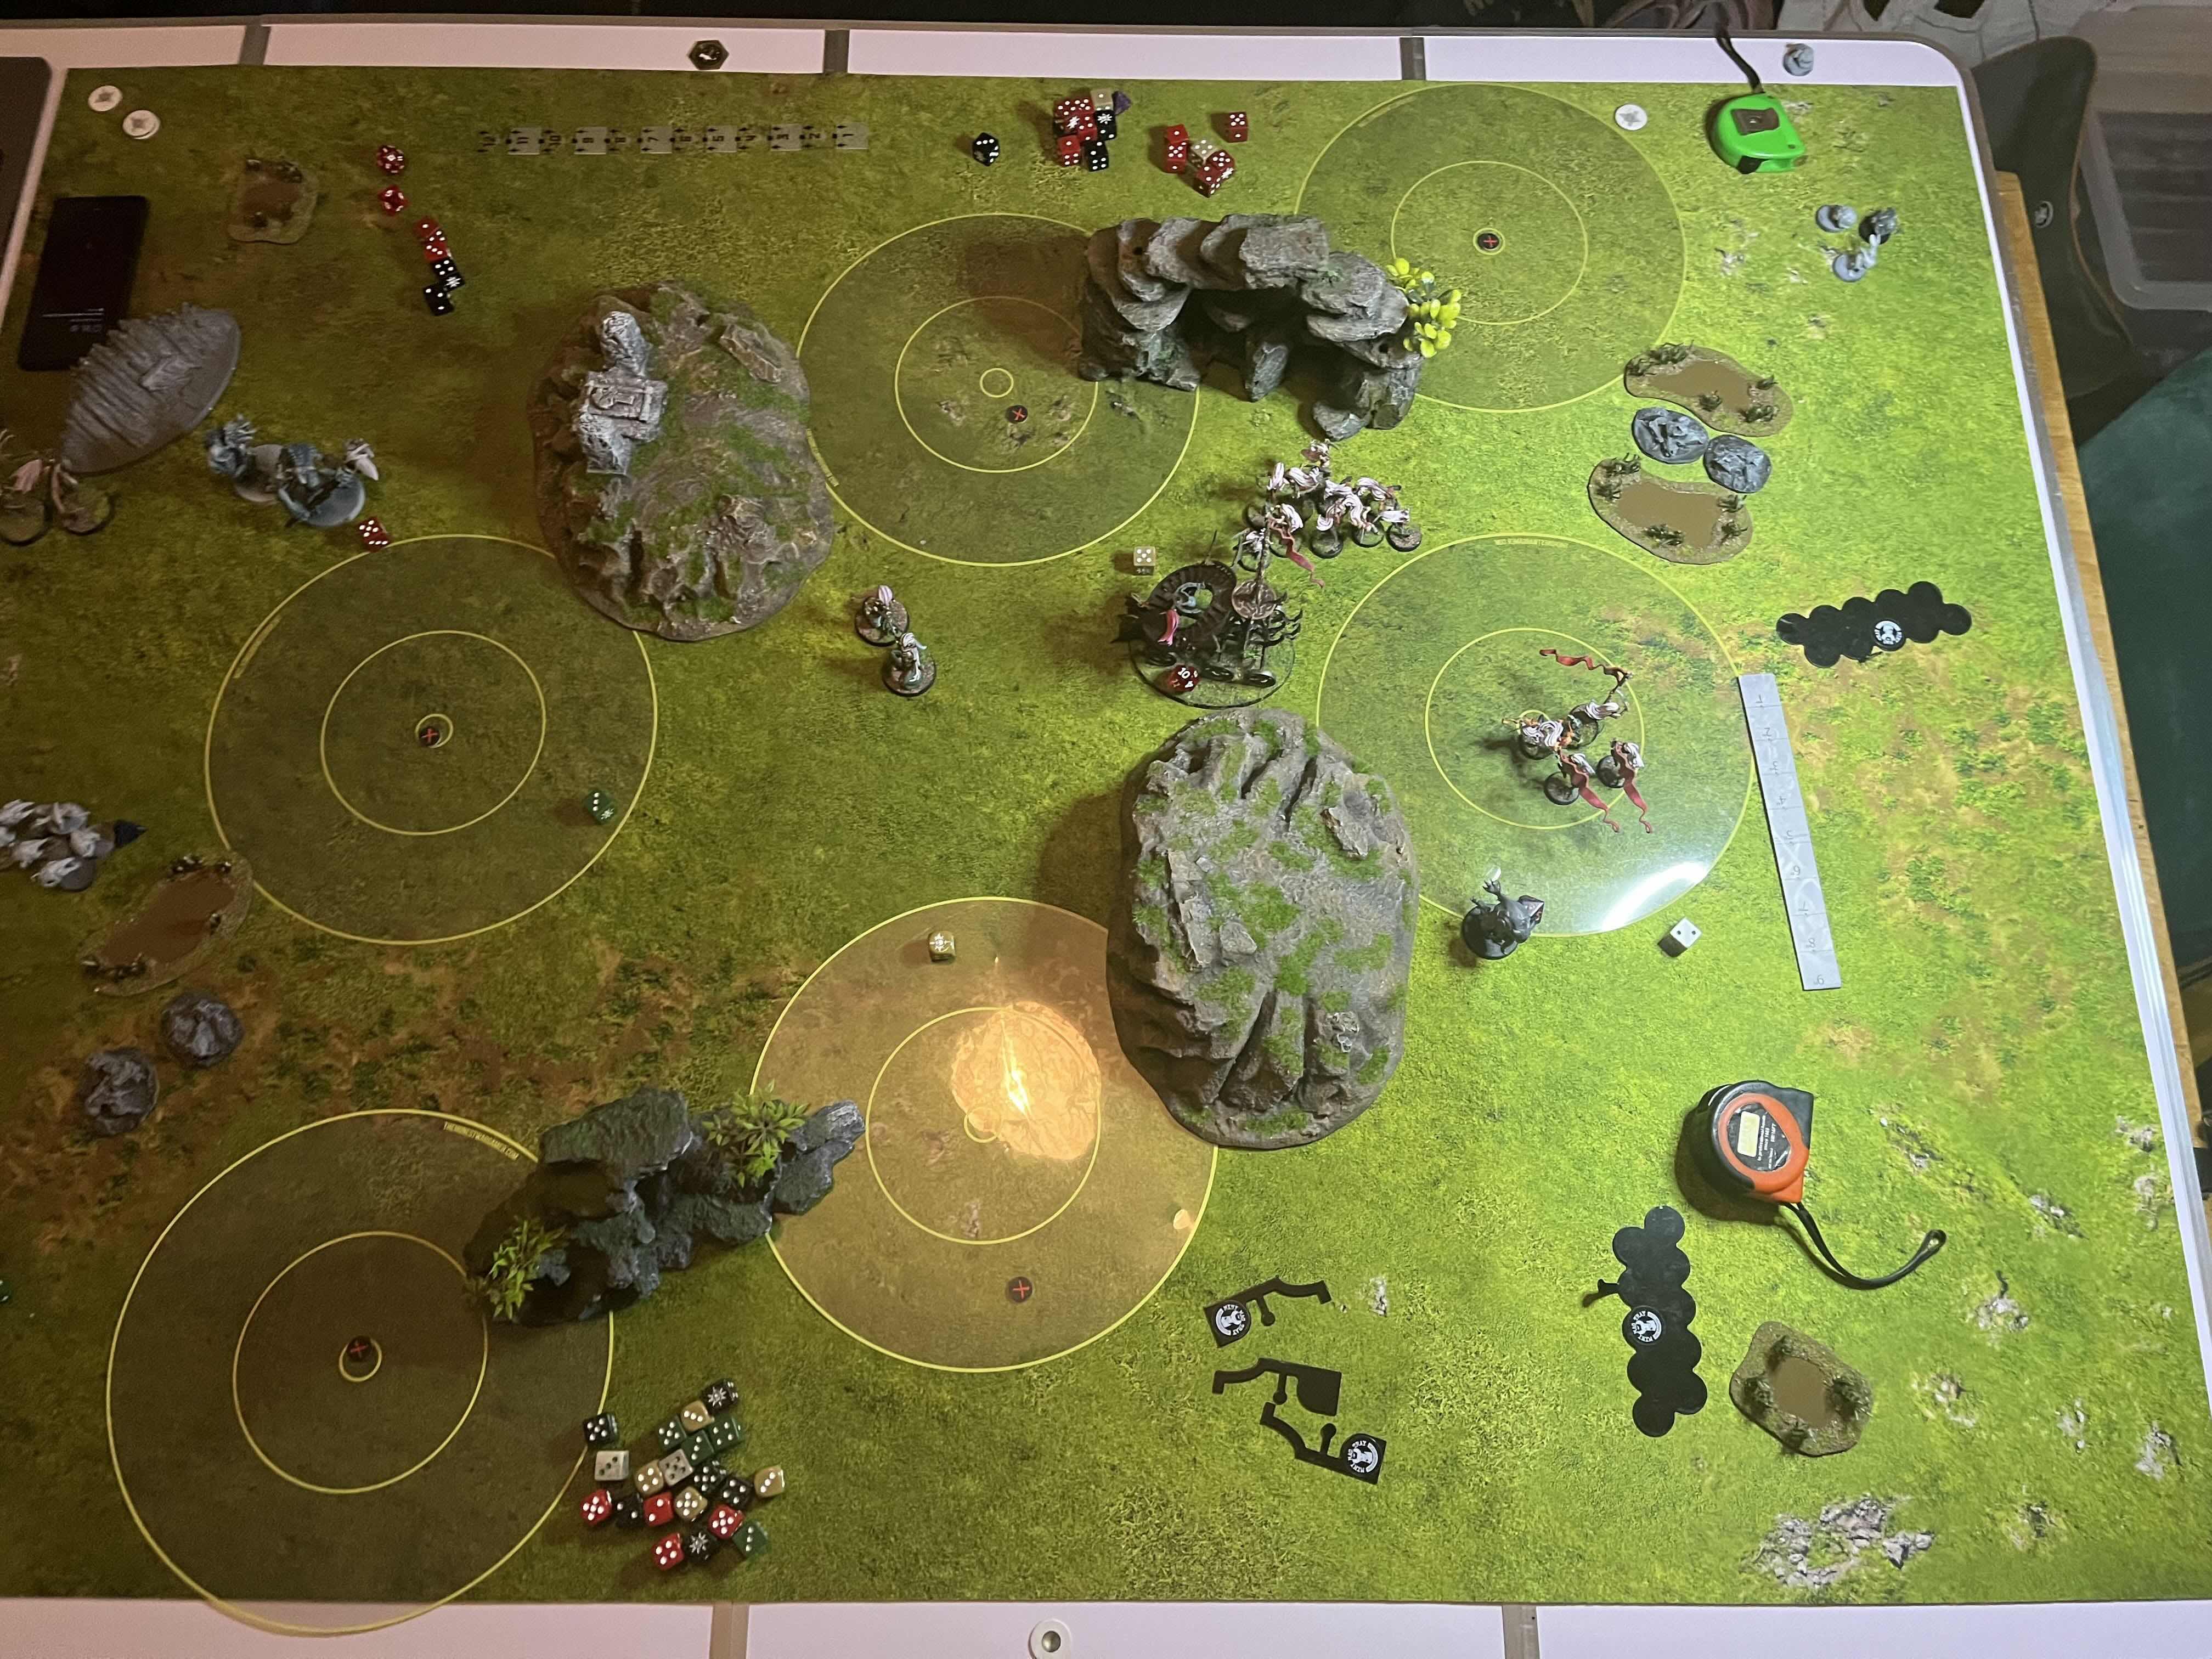
And with the final cackling howls of the Loonboss the game was over.
Result
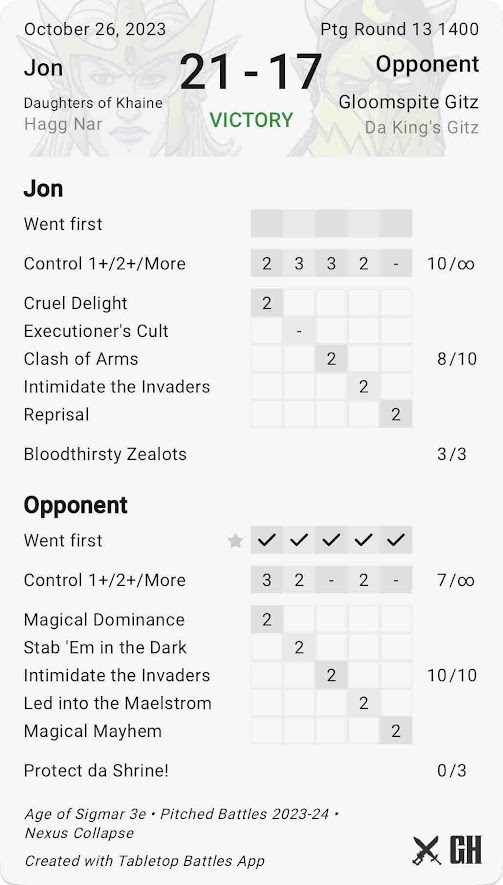
Daughters of Khaine 21 - Gloomspite Gitz 17
Well this went down to the wire, but I think I had it in the bag from at least turn 4, even though with a few swings it could have gone wrong. For context, this was my opponent’s first time playing Gitz and also it was both our first time playing this battle plan. Things I learned:
- I really need to make sure I understand how I am going to get 5 battle tactics. DoK have some good ones and yet I still found myself struggling turn 2. In hindsight I could have at least took a punt on Magical Dominance as there was a chance I could get it and I wouldn’t need it available later on in the game
- I think in this battle plan trying to score one less that your opponent in the first term is crucial, especially for my DoK army. Its a bit of a castle, so being able to force your opponent to come at you by collapsing objectives rather than going after them is super helpful in the early game. I’d go so far as to say it might be worth only scoring 2 points in this mission (for your battle tactic) if you go first and then trying to catch up. But this probably depends on how aggressive your opponents army is
- My opponent definitely made some mistakes which I was able to capitalise on:
- Not protecting his Loonshrine at the end
- using Trugg as protection against deep strikes behind him instead of a cheaper/faster unit meant he didn’t get into combat quick enough
- I think his list would be better in either Jaws of Mork or Gloggs Megamob
- I think he split his forces up to much to deal with my Khinerai, focusing on my hammer’s (big unit of witch aelves or the snakes/avatar) would have left me with significantly less output
And even with that it was still very close!
Surprising even herself, Ezrass pondered that her 2 generals had actually worked well together. Complementing each others abilities in fact.
Dispatching the disgusting greenskin horde had enabled her to consolidate her power and grow her stronghold. The Temple of the Devotees was now known far and wide, her name, struck fear into the hearts of her enemies, as it should be.
What the greenskins had left behind, aside from mushrooms had been turned into a poisonous, noxious wasteland her people couldn’t abide. No matter, she would now be able to expand her reach further, her name becoming legend in the process. All hail Sorcerer Ezrass!